2 min read

Myodetox

Posted on

What Is Frozen Shoulder?


If you’ve experienced a serious injury to the shoulder, like a rotator cuff tear, you may have been warned about developing adhesive capsulitis, otherwise known as “frozen shoulder”.

This condition gets the name “frozen shoulder” due to the stiffness and pain it causes.


What Is Frozen Shoulder?
Frozen shoulder is significant shoulder mobility restriction and pain that develops slowly, and can sometimes last for 1-2 years. It typically develops during long periods of rest (e.g. post-fracture and post-surgery).

The shoulder joint has connective tissue surrounding it. This tissue typically serves to stabilize the ball-and-socket joint of the shoulder, and acts as a support structure. With this condition the connective tissue becomes immobilized and inflamed.

stiff shoulder


Who Gets Frozen Shoulder?
Frozen shoulder affects up to 3% of the US population. Of all the shoulder conditions that cause immobility and pain after the age of 40, adhesive capsulitis is the leader. The major risk factors for developing it include:

  • Non-dominant hand/arm.
  • Rotator cuff pathology.
  • Glenohumeral fracture.
  • Systemic diseases such as diabetes mellitus, thyroid dysfunction, cardiovascular disease, and Parkinson’s disease.

    frozen shoulder


    What Causes Frozen Shoulder?
    There are two primary causes for frozen shoulder, but the mechanism of development is largely unknown. Primary adhesive capsulitis is idiopathic – pain and immobility gradually develop without any specific cause.

    Secondary adhesive capsulitis is associated with systemic issues of the body such as diabetes mellitus, hormone issues, rotator cuff injuries, shoulder injuries, calcific tendinitis, cervical spondylosis, and strokes to name a few.

    What Are The Symptoms?
    The main symptoms of adhesive capsulitis involve movement restriction and pain. There are three stages involving these symptoms:

  • Freezing stage: shoulder range of motion begins to diminish, and general movement (particularly overhead and behind the back) movements become painful. This stage ranges from 1-9 months.

  • Frozen stage: shoulder movements become even more stiff, though pain begins to reduce. Functional use (e.g. reaching overhead, putting a coat on) becomes much more difficult. This stage ranges from 4-12 months.

  • Thawing stage: this is when movement and pain begin to improve, and previous loss of functional movements slowly return. This stage ranges from 5-24 months.

    How Do You Prevent and Manage It?
    Most cases of adhesive capsulitis develop during long periods of immobility such as healing from a shoulder break, stroke, or a post-surgical rotator cuff tear. For some it will develop without any associated cause. Regardless of cause, once safe, movement will be key.

    Maintaining health movement, strength, stability, and facilitating appropriate muscle recovery of the neck-back-shoulder complex is key.

    The physical therapy interventions that are most favorable focus on manual therapy, progressive stretching, and myofascial techniques to maintain optimal shoulder movement and strength. This is most important in frozen and thawing stage.

  • Myofascial techniques: focus on the muscle and fascial tension that builds with frozen shoulder, providing stimulus to aid in movement and recovery.

  • Progressive manual therapy: mixing joint mobilization, deep tissue massage, progressive stretching, and muscle energy techniques.

  • Exercise: focused on challenging and progressing range of motion, scapular stability, and strength for functional movements.

    Frozen shoulder is a long road for many, but the right treatment can get you back to moving at your best.

    Ready to start managing your shoulder mobility?

    Find your nearest location

  • 1 min read

    Dr. Nicole Chambers

    Posted on

    3 Types of Shoulder Instability


    Learn the 3 types of shoulder instability to help prevent pain!

    Shoulder injuries are very common. Your shoulder is a highly mobile joint, imbalances in its stability and strength can easily lead to dislocations.


    3 Types Of Shoulder Instability
    Shoulder instability occurs when your muscles and ligaments are challenged to the point of pain and discomfort.
    There are three major types of instability: anterior, posterior, and multidirectional.

    1) Anterior
    Anterior instability occurs when the humeral head (e.g. the “ball” of the shoulder joint) translates forward. Primarily seen in athletes and males aged 15-30. Dislocations generally occur with an outstretched arm. Anterior is the most common form of instability.

    2) Posterior
    Posterior instability is less common but typically seen in overhead athletes like football, tennis, baseball, lacrosse, and water polo. Posterior instability is usually aggravated with the arm forward and across, under load.

    3) Multidirectional
    Multidirectional instability is not associated with trauma. This type of instability occurs when there is general instability in all directions of shoulder movement. People with this type of instability are typically “double-jointed”, hypermobile individuals and/or have developed chronic dislocations of the shoulder.
    Learn more about hypermobility here.


    How Do You Manage Shoulder Instability?
    Exercises dedicated to stabilization and neuromuscular control yield the best results. Managing shoulder instability requires specific strengthening and stabilization exercises that become natural to the individual.

    The progression of your exercises should train you up to positions in which the shoulder was previously vulnerable. The reaction time for your shoulder stability needs to become second nature, which will require significant work and time.

    Exercises should focus on the rotator cuff muscles, and the global movers of the shoulder. Training should focus on both open movements (e.g. overhead, unloaded movements like throwing), and planted movements (such as weight training, specialized push-ups, and core strengthening).


    Want To Work On Your Shoulder Stability?
    Book a session with me! I will assess your movements and set you up on a FutureProof plan to increase your mobility, reduce pain and prevent injury.

    Book your session today

    5 min read

    Beginner & Advanced Rotator Cuff Exercises For Shoulder Pain

    Posted on

    Beginner & Advanced Rotator Cuff Exercises For Shoulder Pain

    It’s Summer and you’re probably going to want to show off those Summer Shoulders! But what’s the point if the “flex” isn’t as strong as it looks? Let’s dive into some rotator cuff exercises that can be used to prevent and rehab your shoulder injuries.

    It happens to a number of us: picture yourself in the gym and you hear “that sound” or get “that pain” in your shoulder. It’s “that” shoulder pain which limits the rest of your workout and ends up nagging you for the next week. Commonly you’ve strained a muscle in the shoulder.

    First off, the shoulder joint is a complex part of the body with a number of rotator cuff muscles that are prone to injury, varying in severity and specific type. To effectively understand how to properly rehab the shoulder and prevent further injury, we must first understand the relevant shoulder muscles in order to give the appropriate rotator cuff exercises.

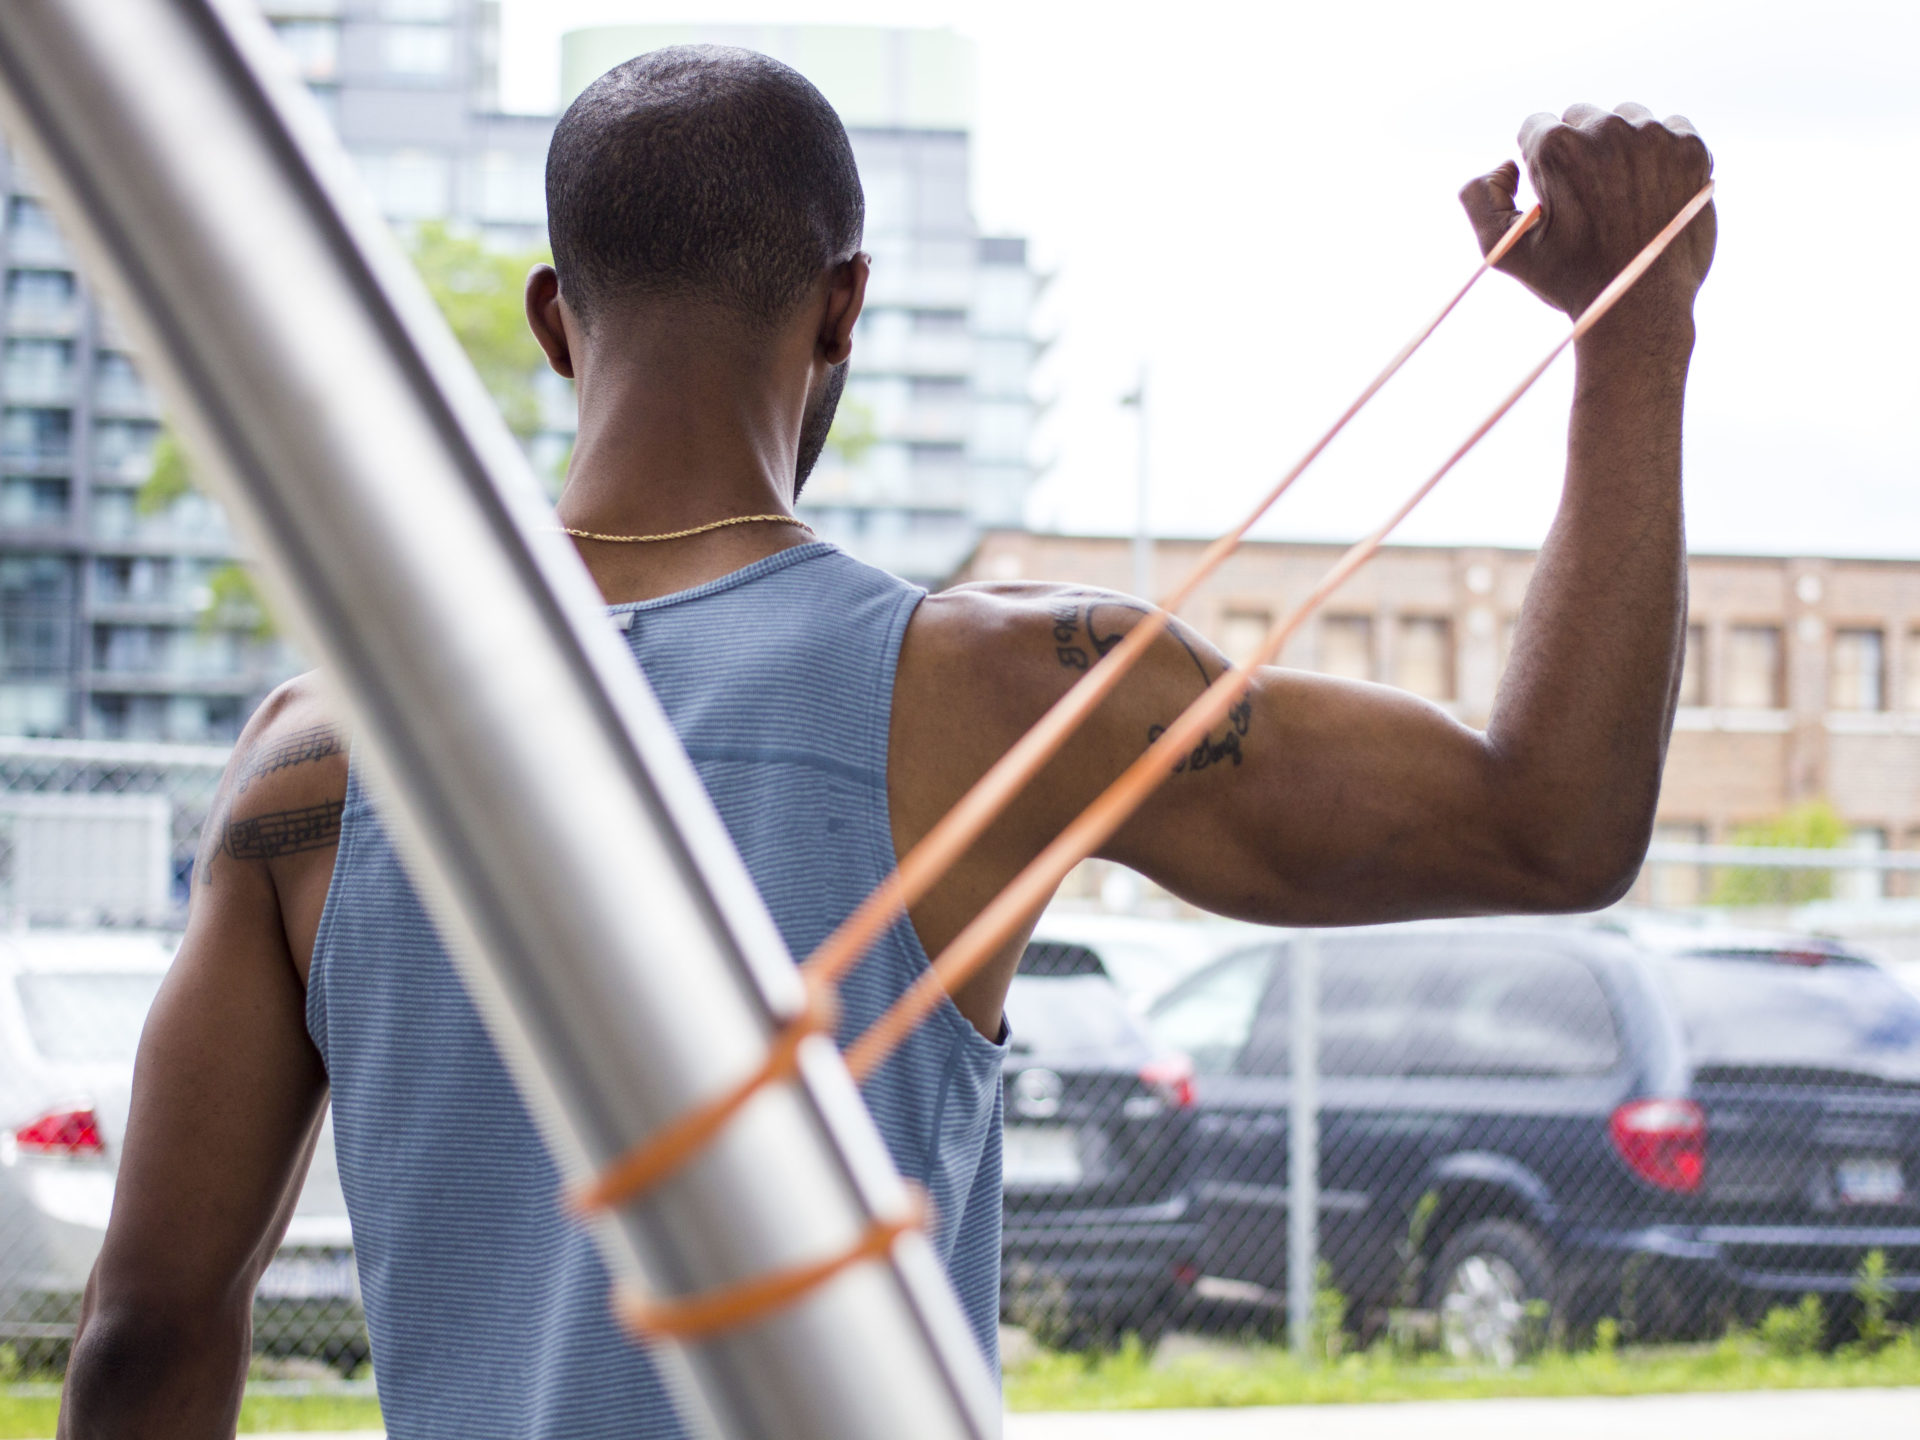
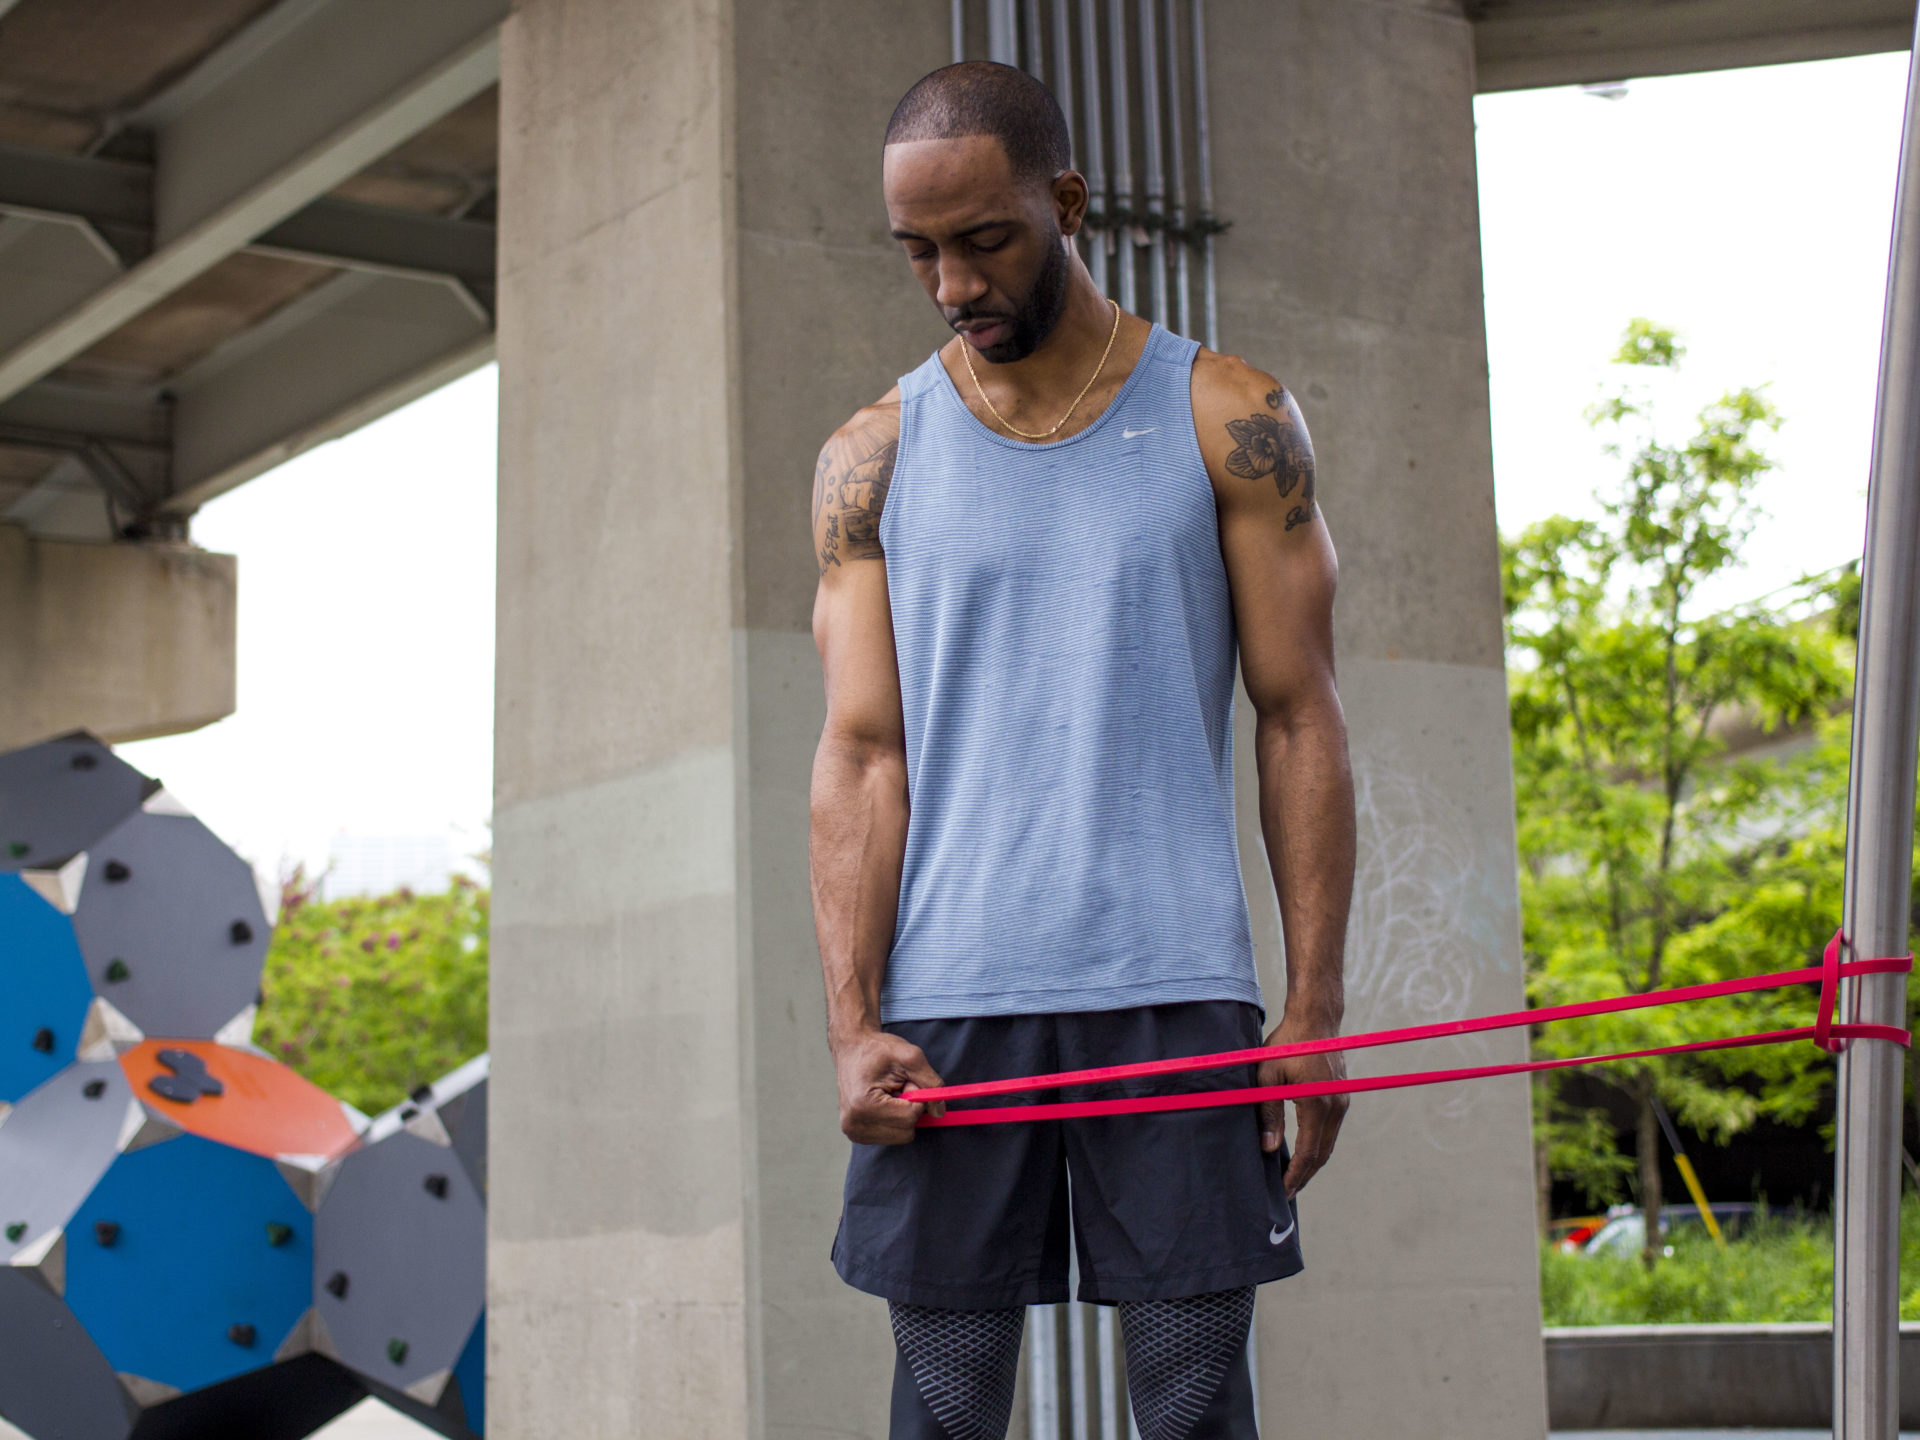
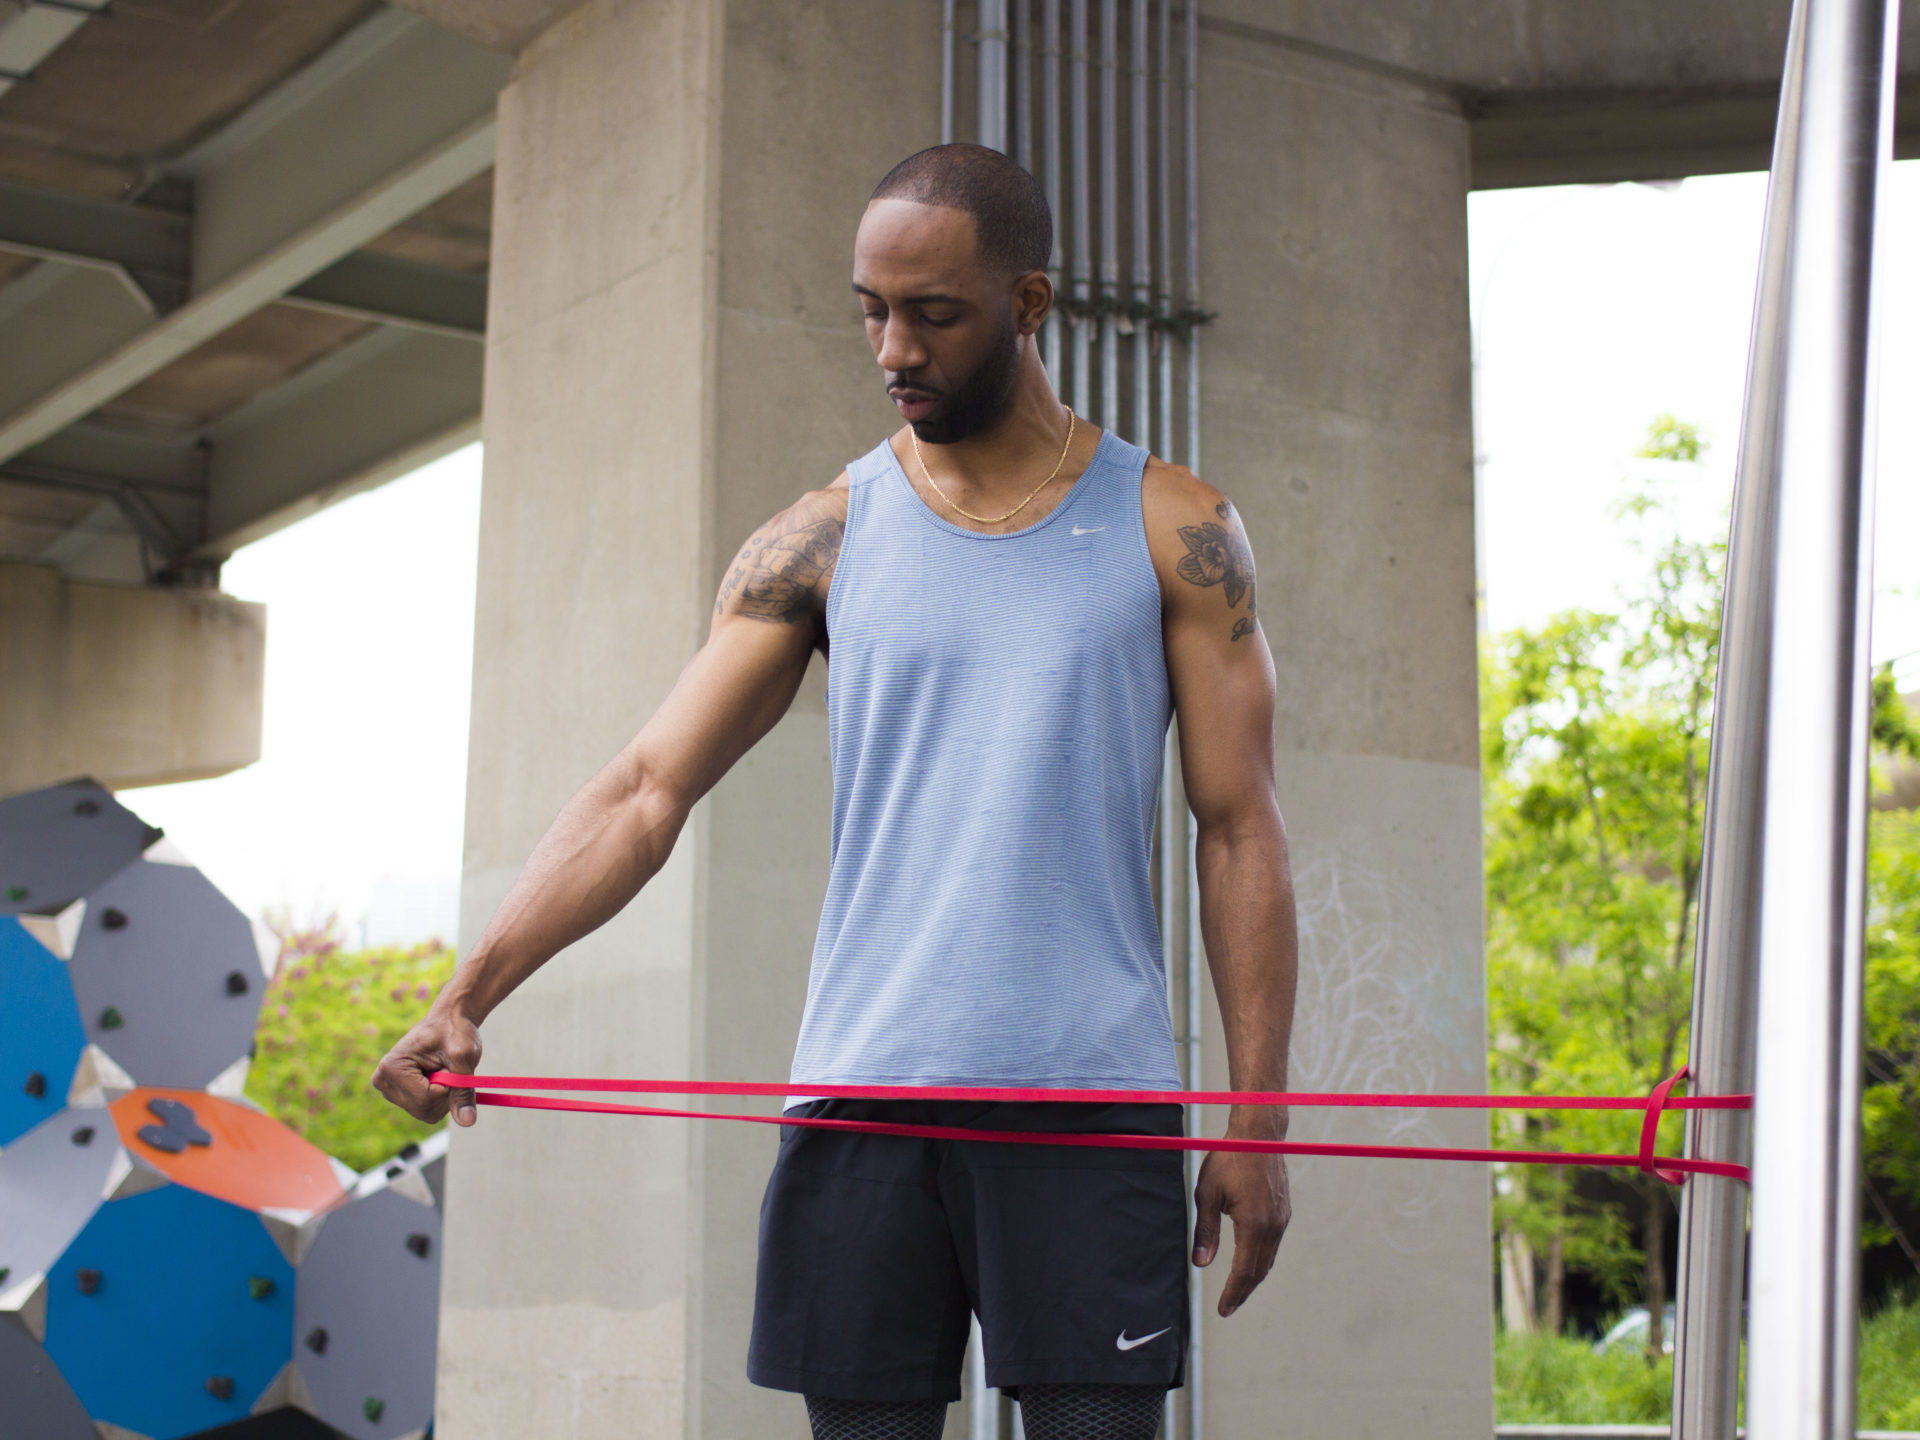
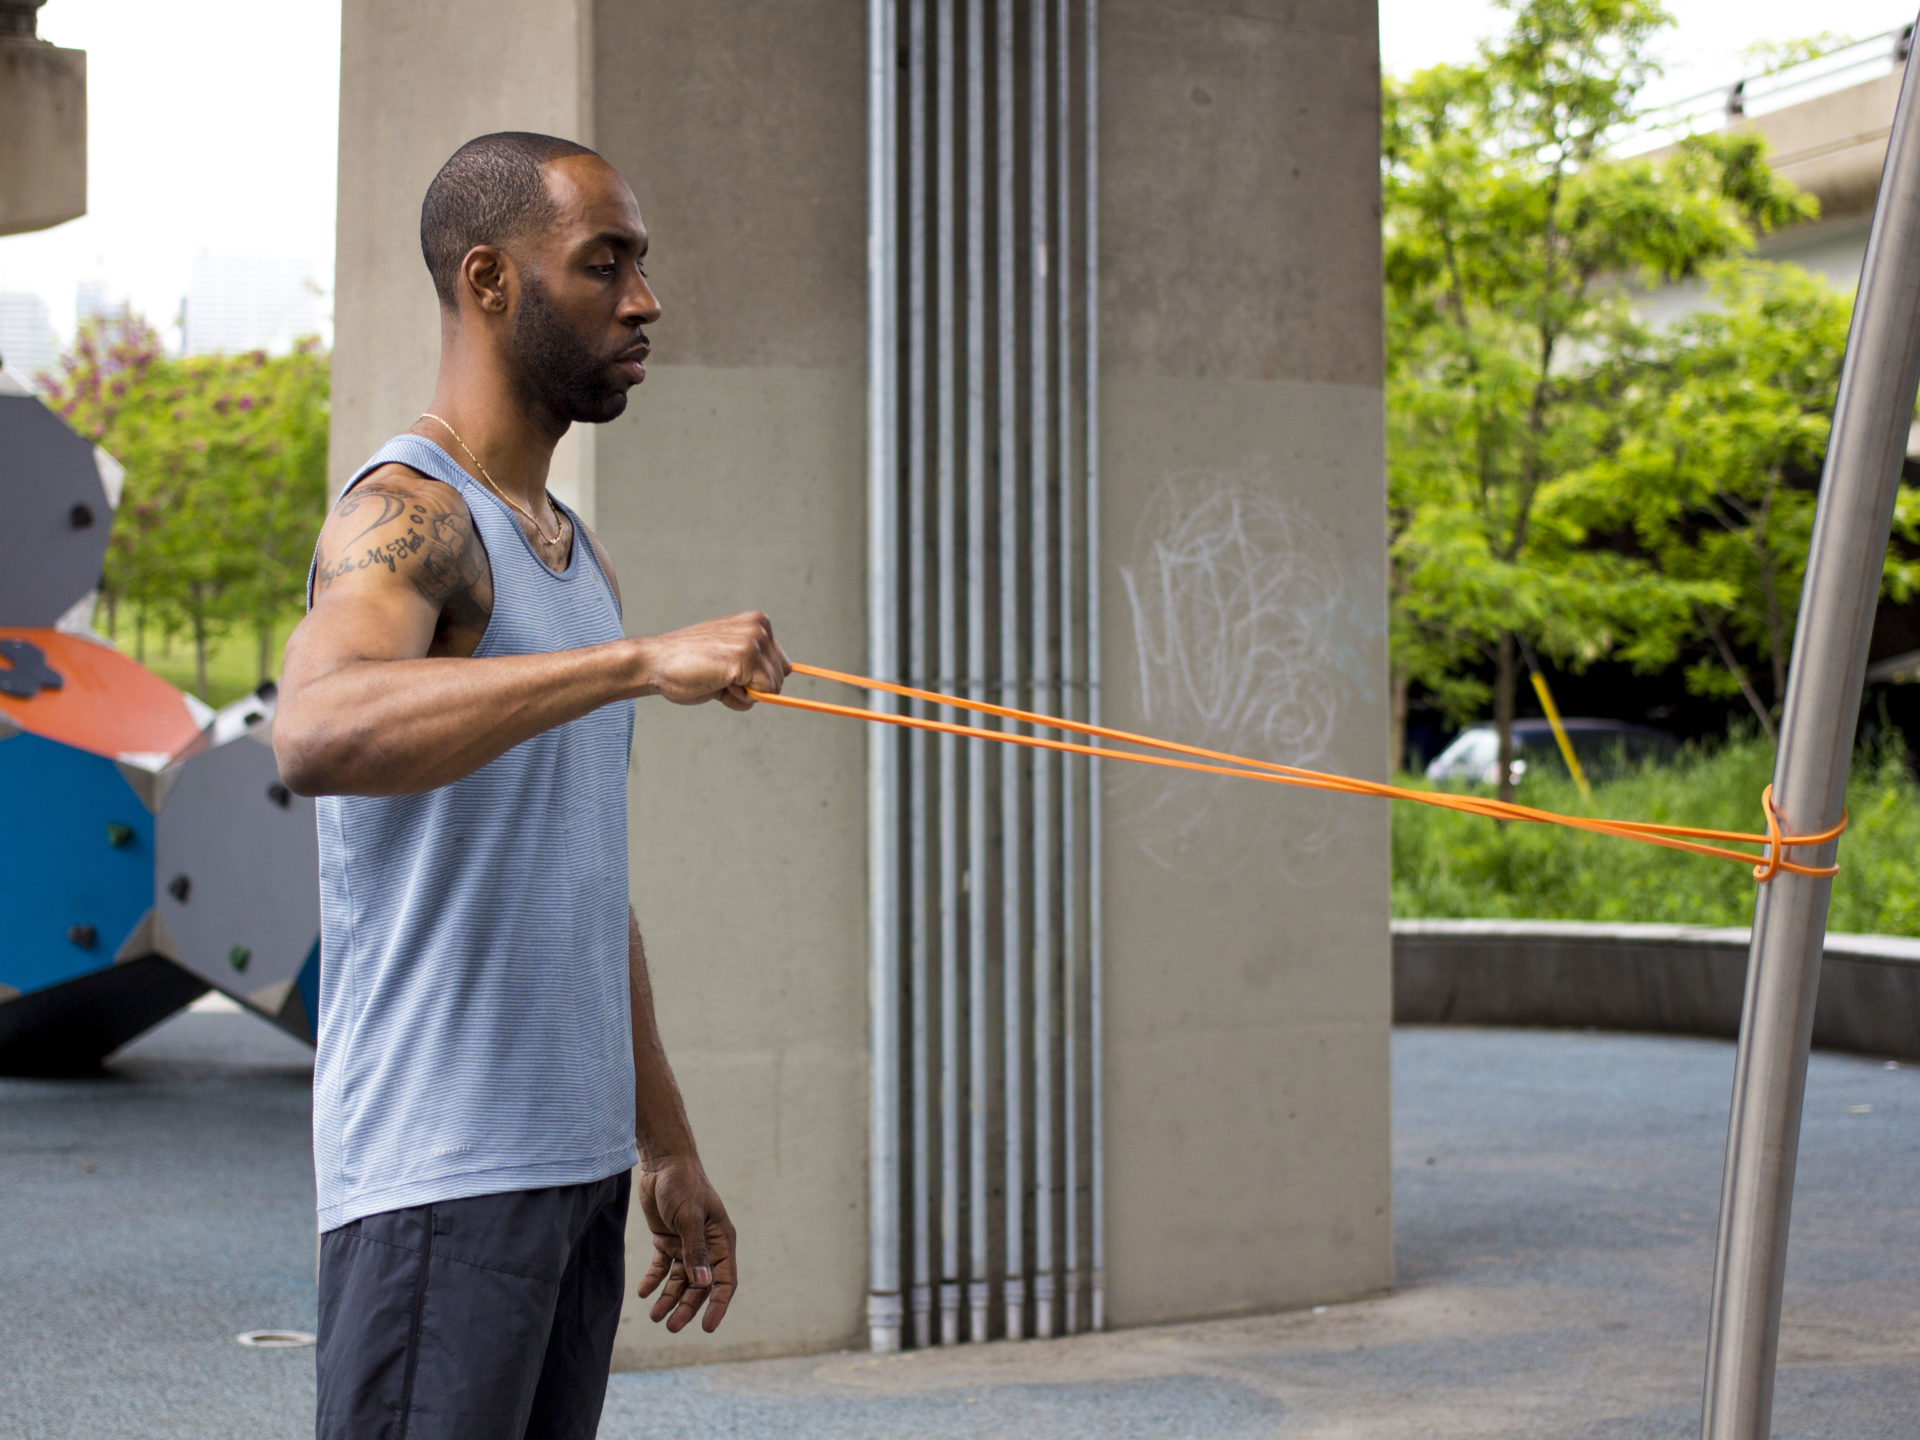
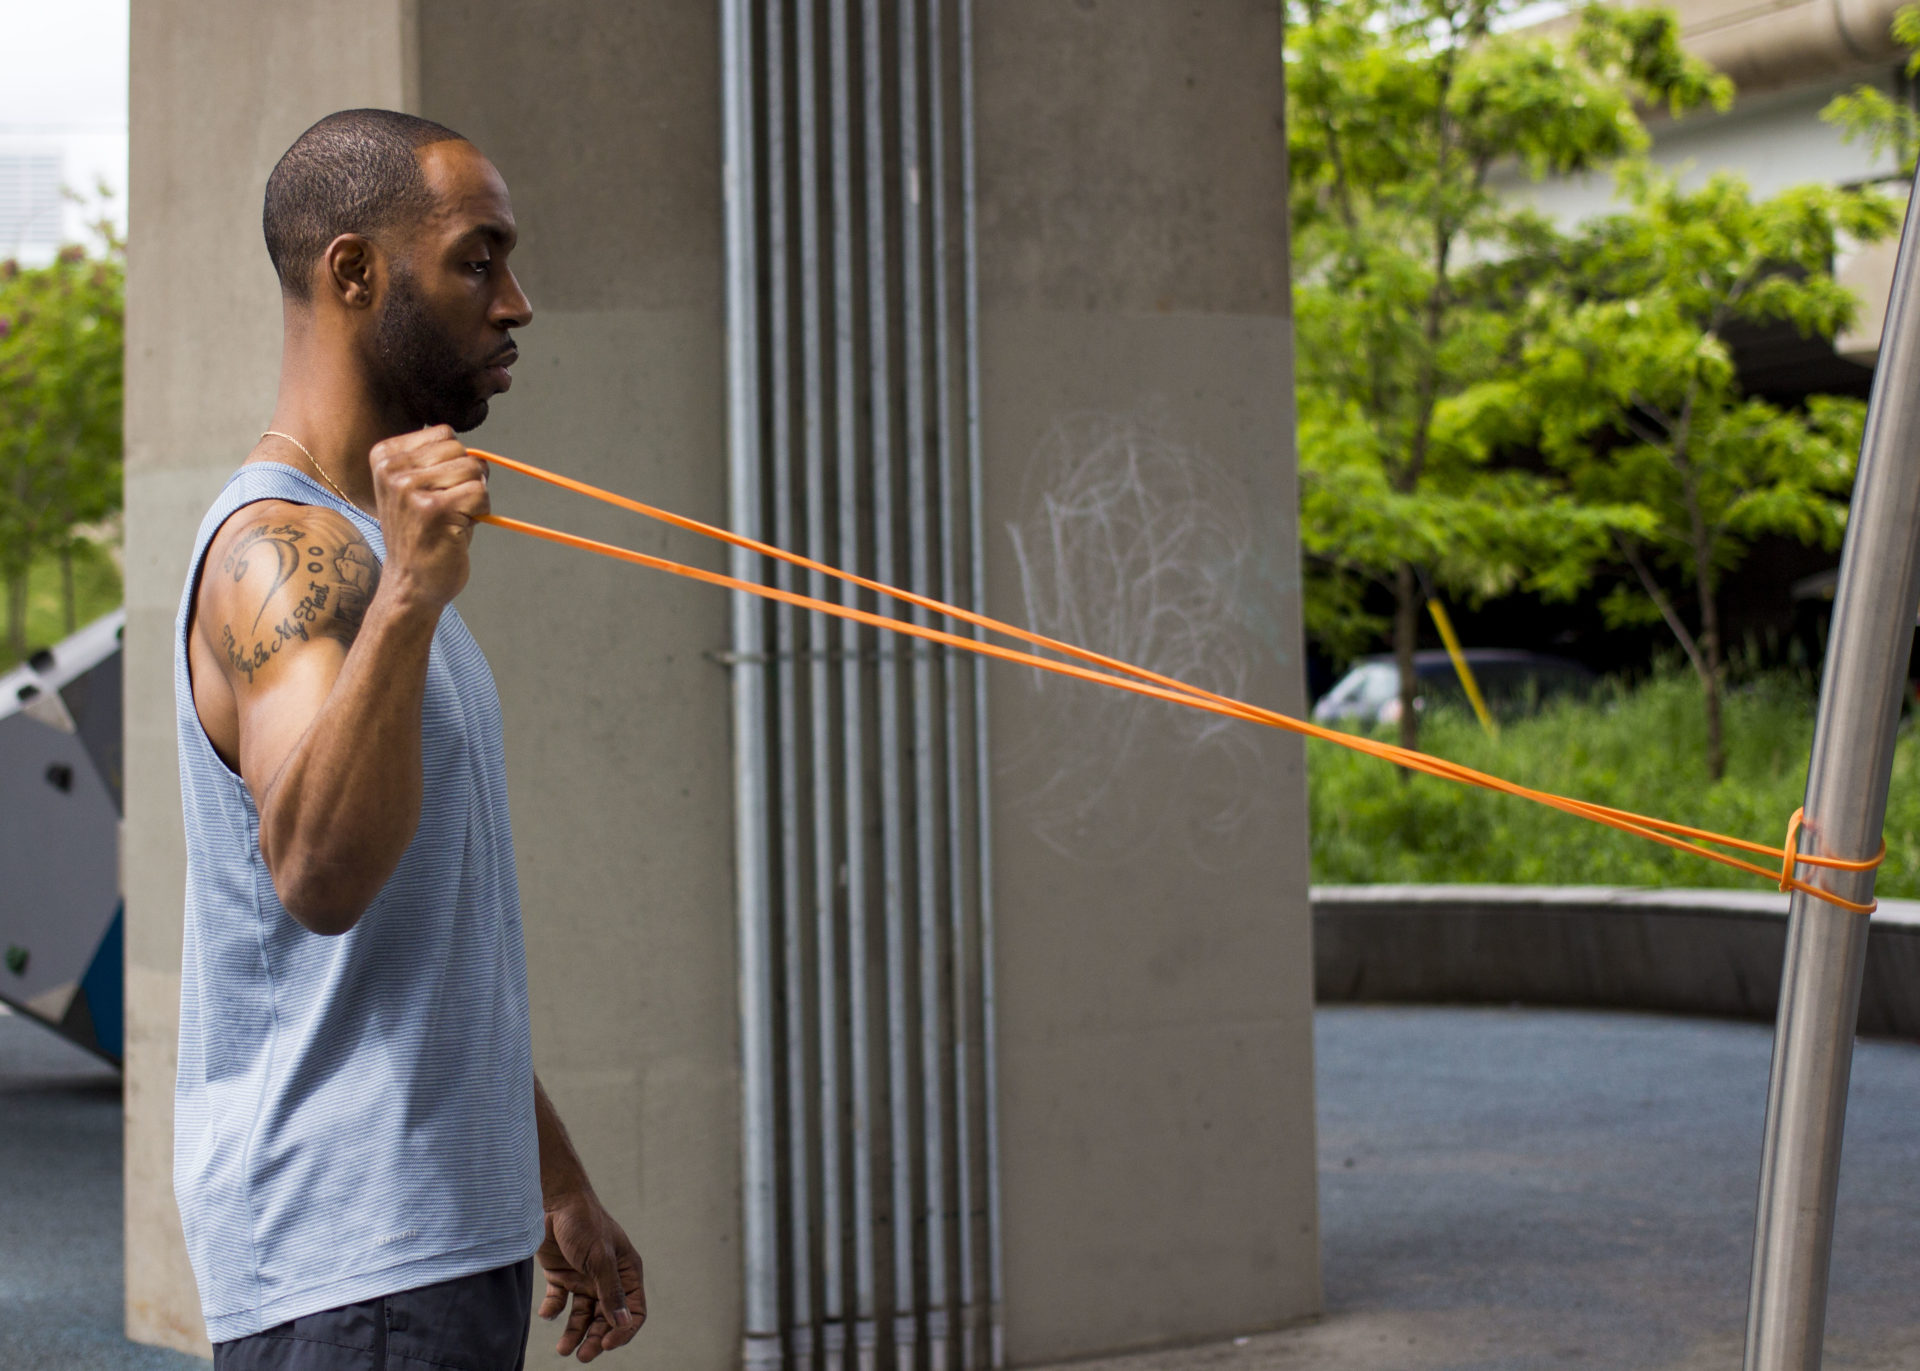
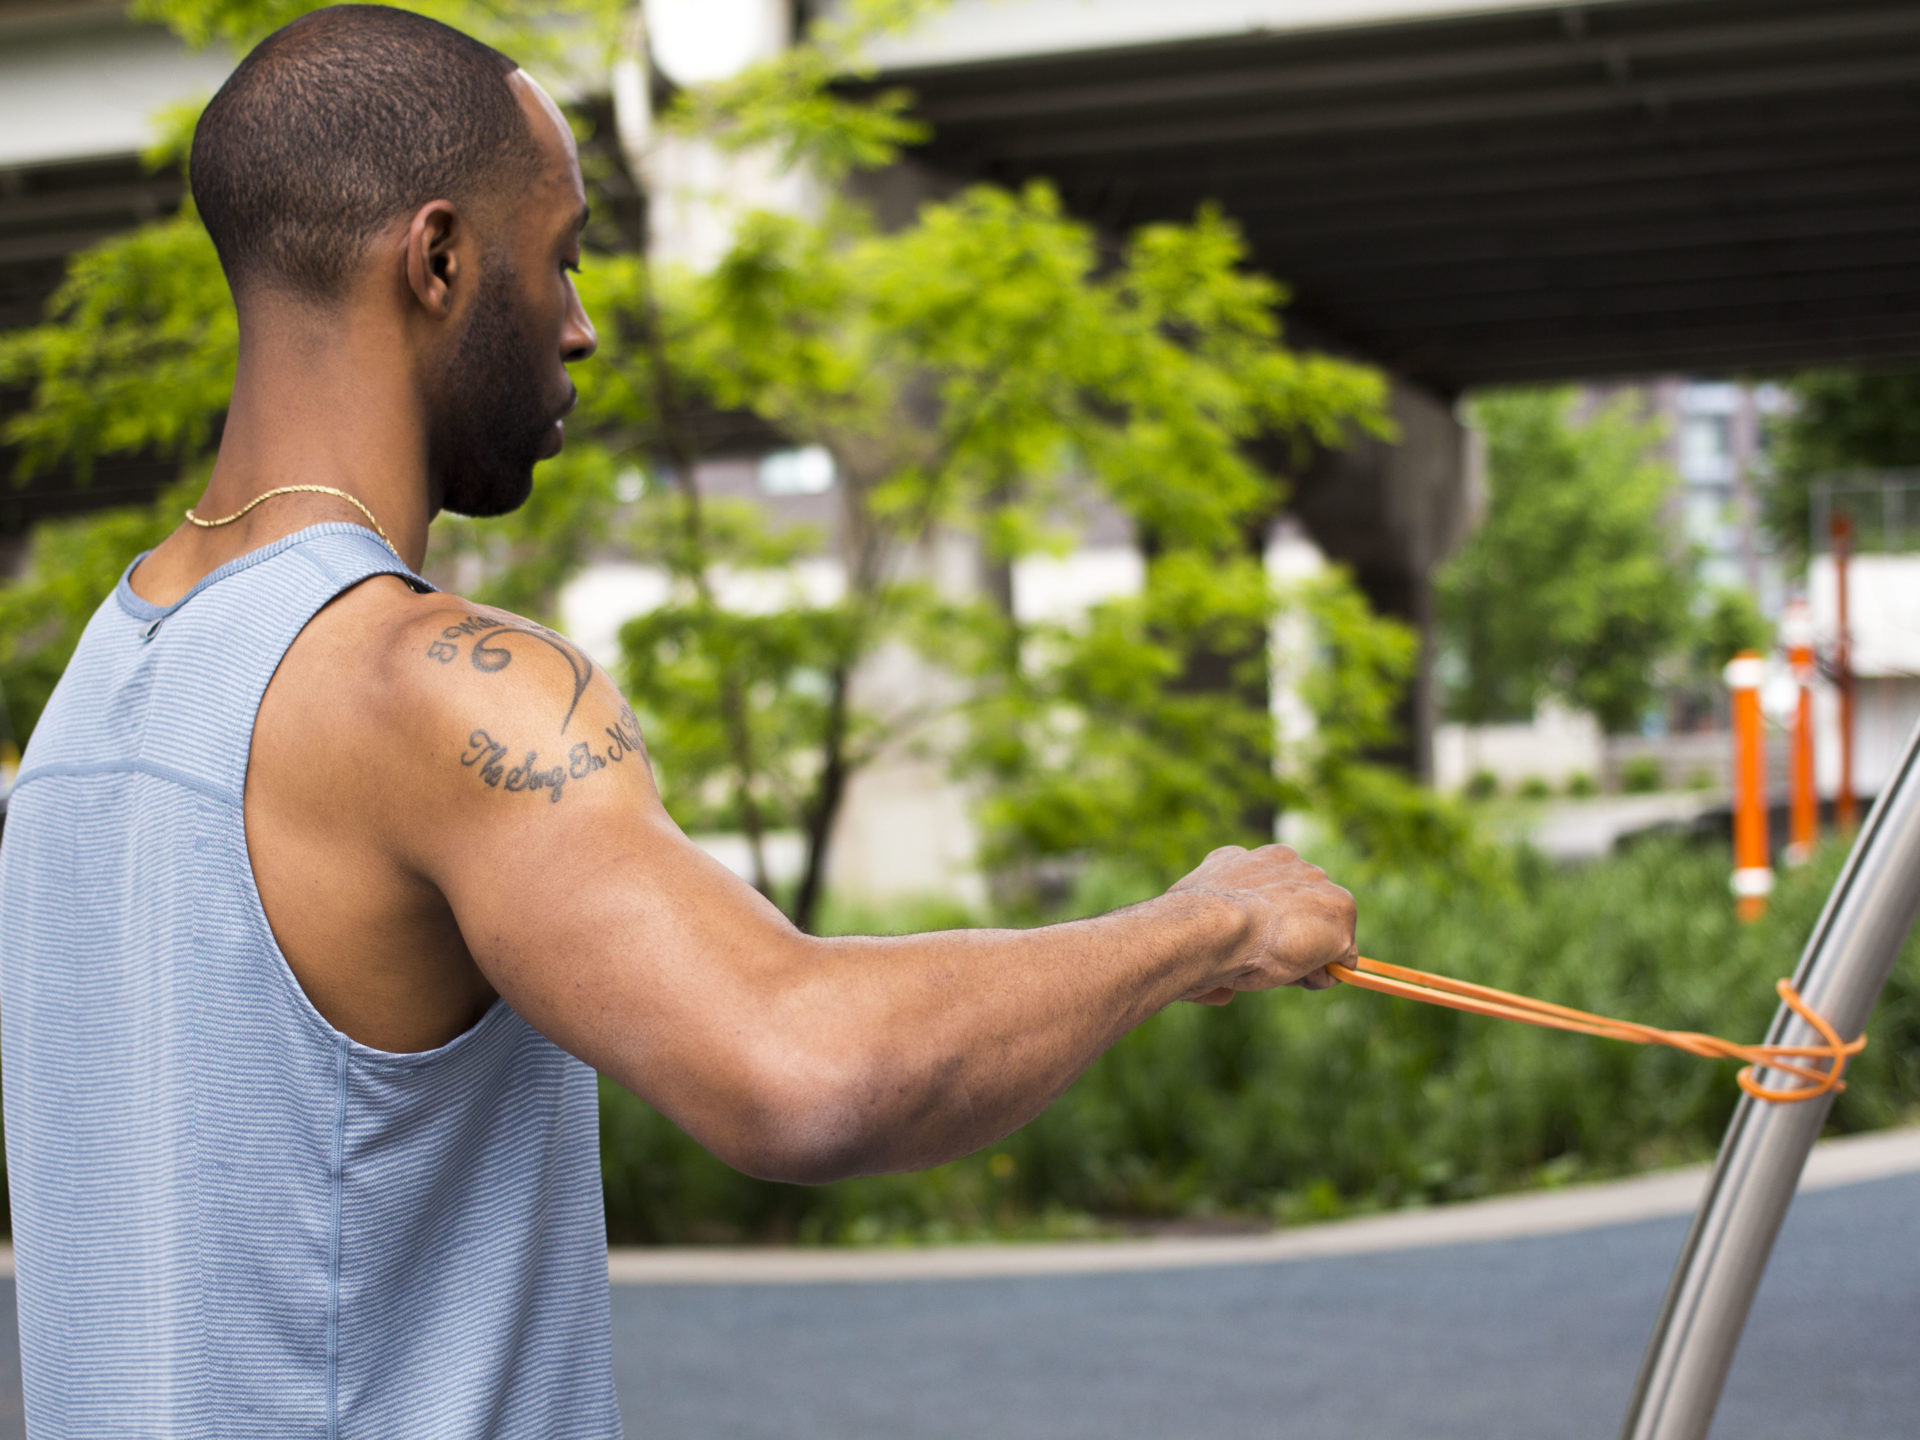
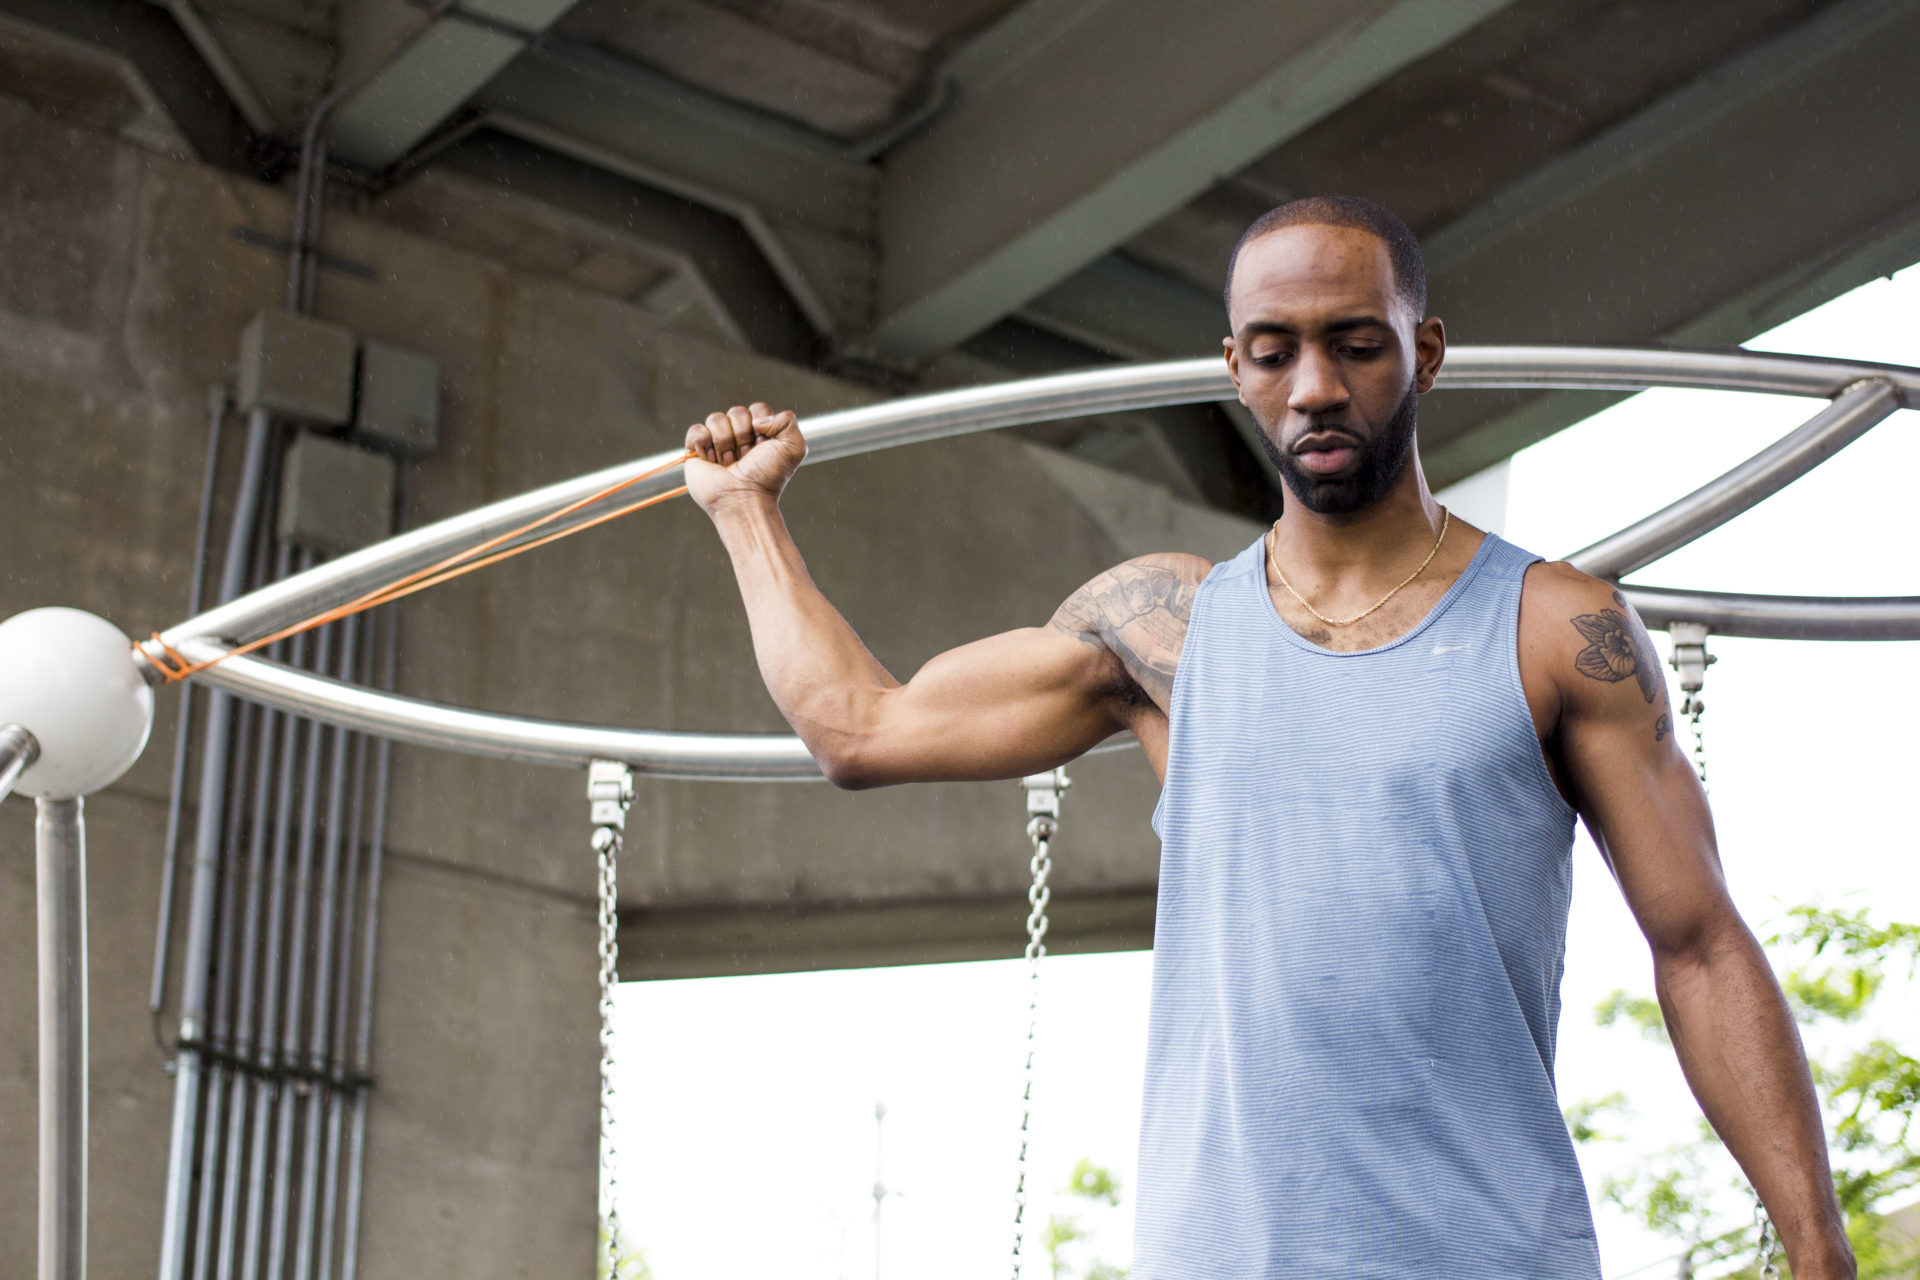
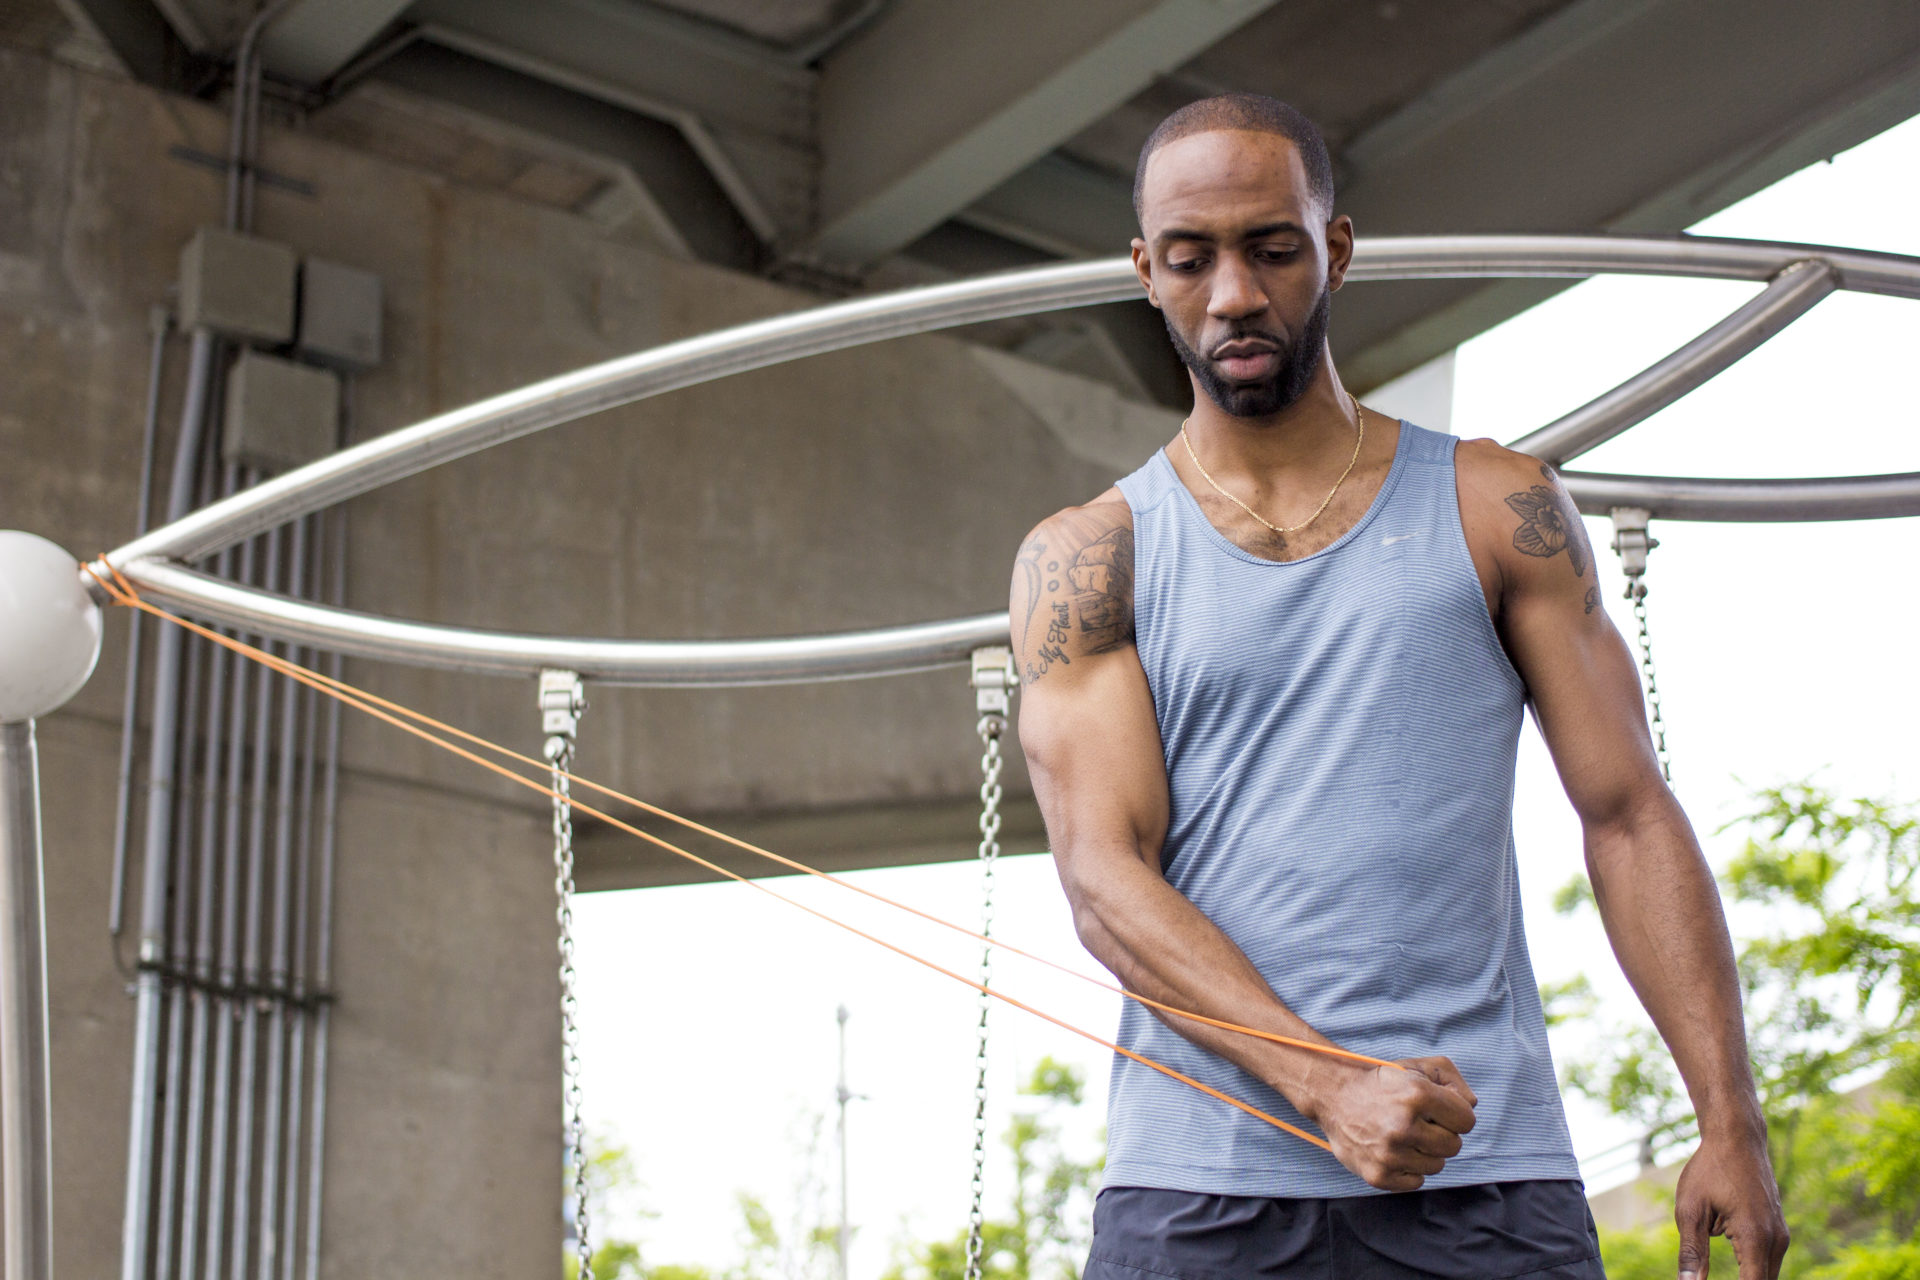
    Below is a picture of each muscle in action:

    Supraspinatus
    ralph
    ralph
    Arm straight by side
    Push with band (or against wall/table/etc without band)

    Subscapularis
    ralph
    ralph
    Abduction of shoulder to 45-90 degrees, internal rotation

    Infraspinatus
    ralph
    ralph
    Abduction of shoulder to 90 degrees, external rotation

    Teres Minor
    ralph
    ralph
    Abduction of shoulder to 45 degrees, external rotation

    These pictures above provide the foundation of treatment for a rotator cuff injury. With this, we can apply a progressive strengthening principle that can be used to strengthen the rotator cuff.

    Start with holding these contractions within a pain free range. These are called isometric holds, which are the most basic of our shoulder exercises. Our goal is performing static holds that are direction specific for the individual rotator cuff muscles. Try to pick a point between the two pictures and hold is for 5-10 seconds for 3-5 repetitions.

    We can progress these exercises by “concentrically and eccentrically” moving through available muscle range and eventually loading the muscles eccentrically. What we want to do here is move back and forth between the first and second picture for each muscle shown.

    Additionally, here are another three exercises that are more advanced:

    Bully Stretch
    ralph
    ralph
    This is a great stretch to help open up the whole shoulder area. There are a number of muscles that can get tight, leading to overuse rotator cuff injuries. Use this stretch as maintenance after your upper body training days. Try to aim for a 20-30 second stretch for 3-4 repetitions total.

    Lawn Mower Pull
    ralph
    ralph
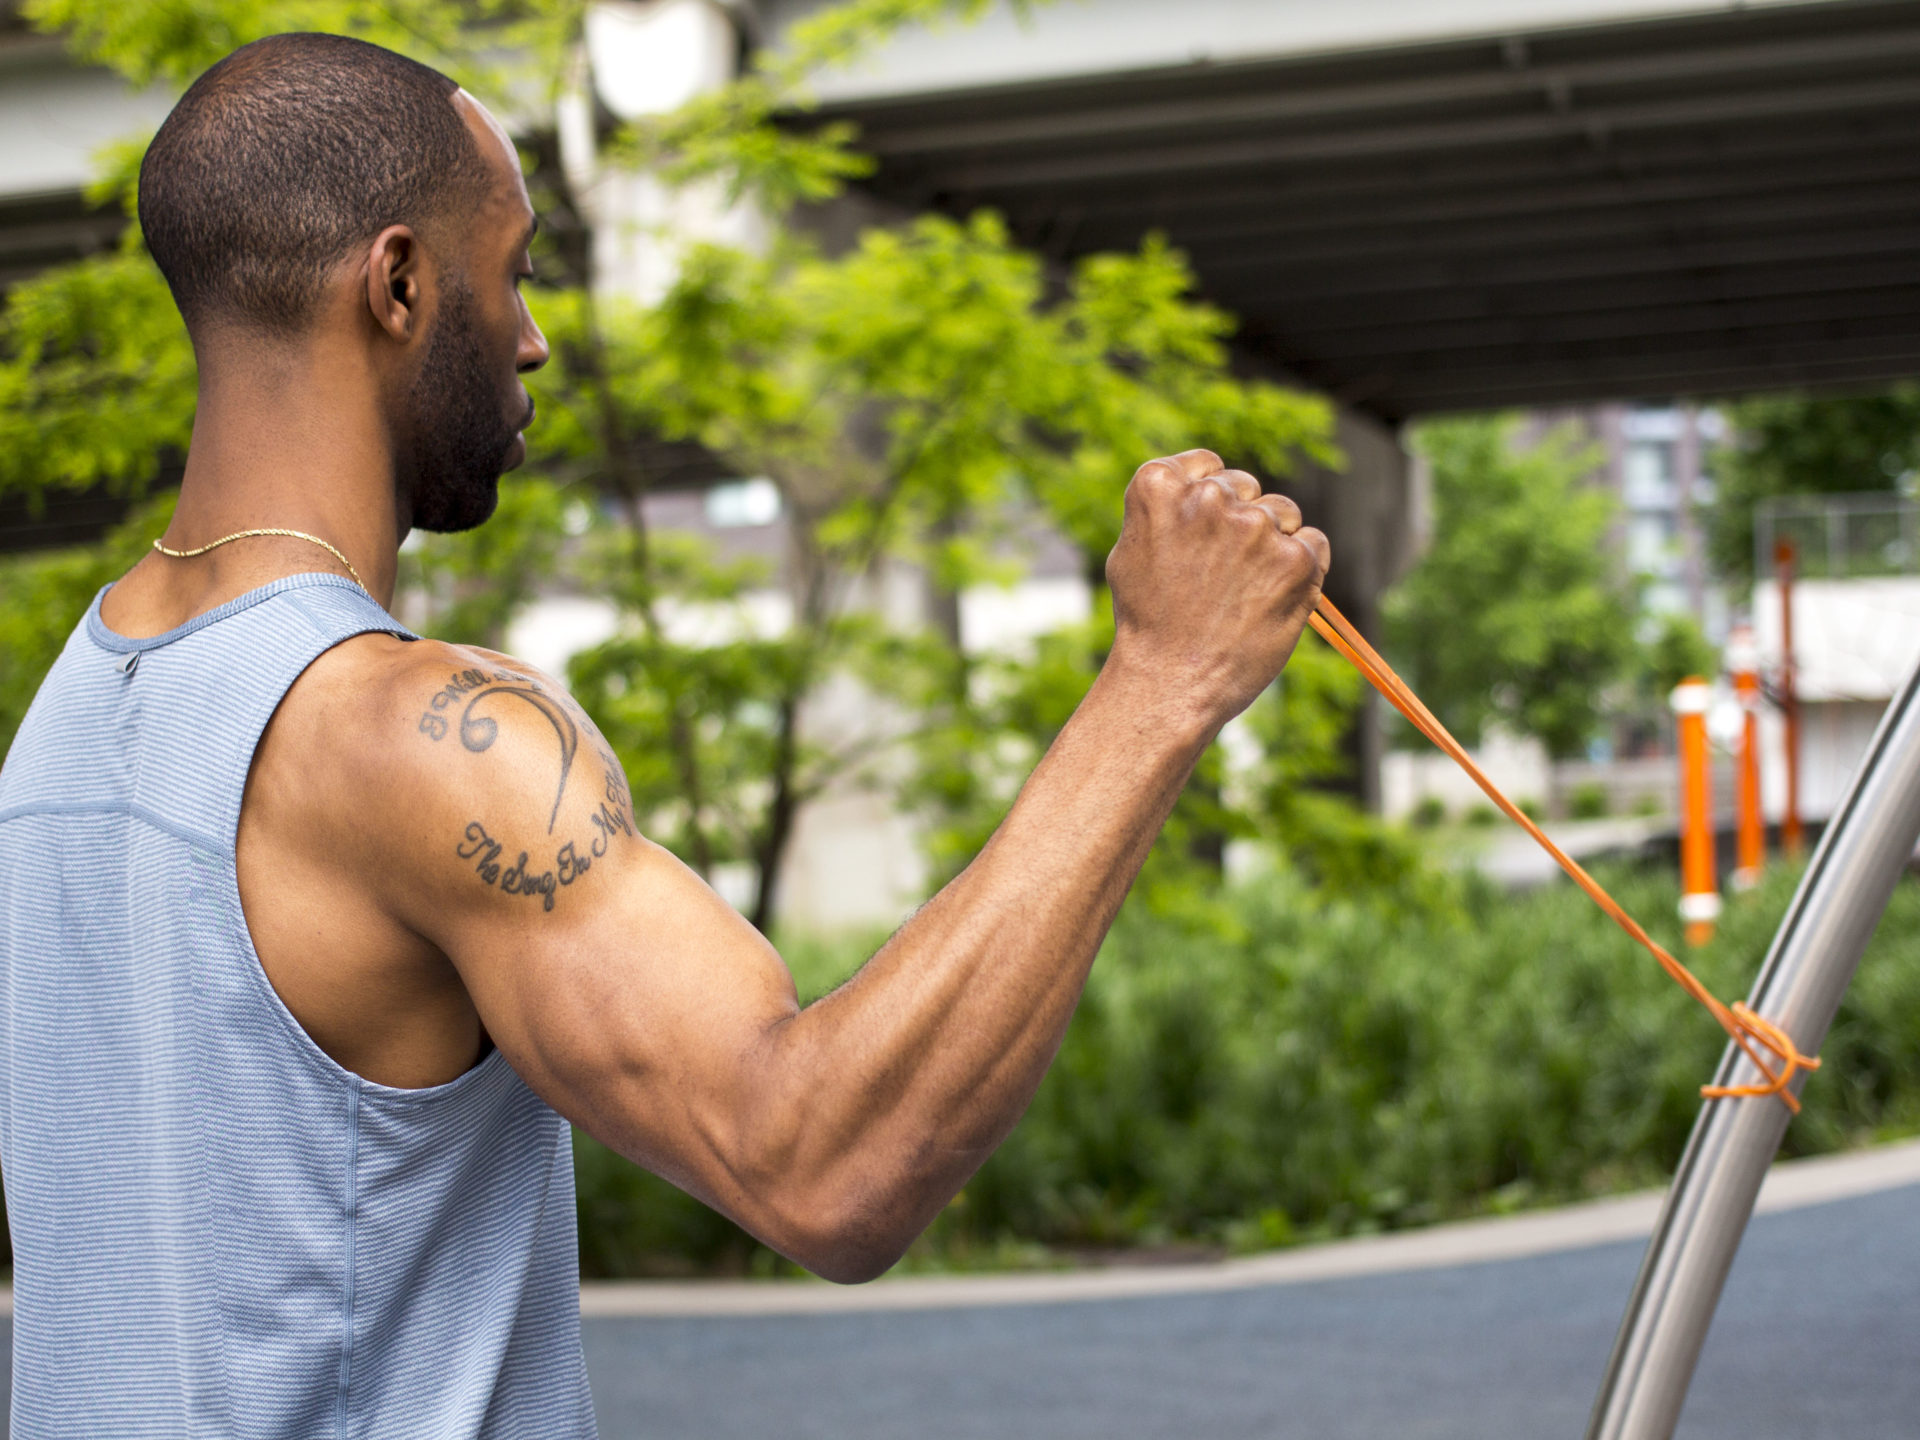
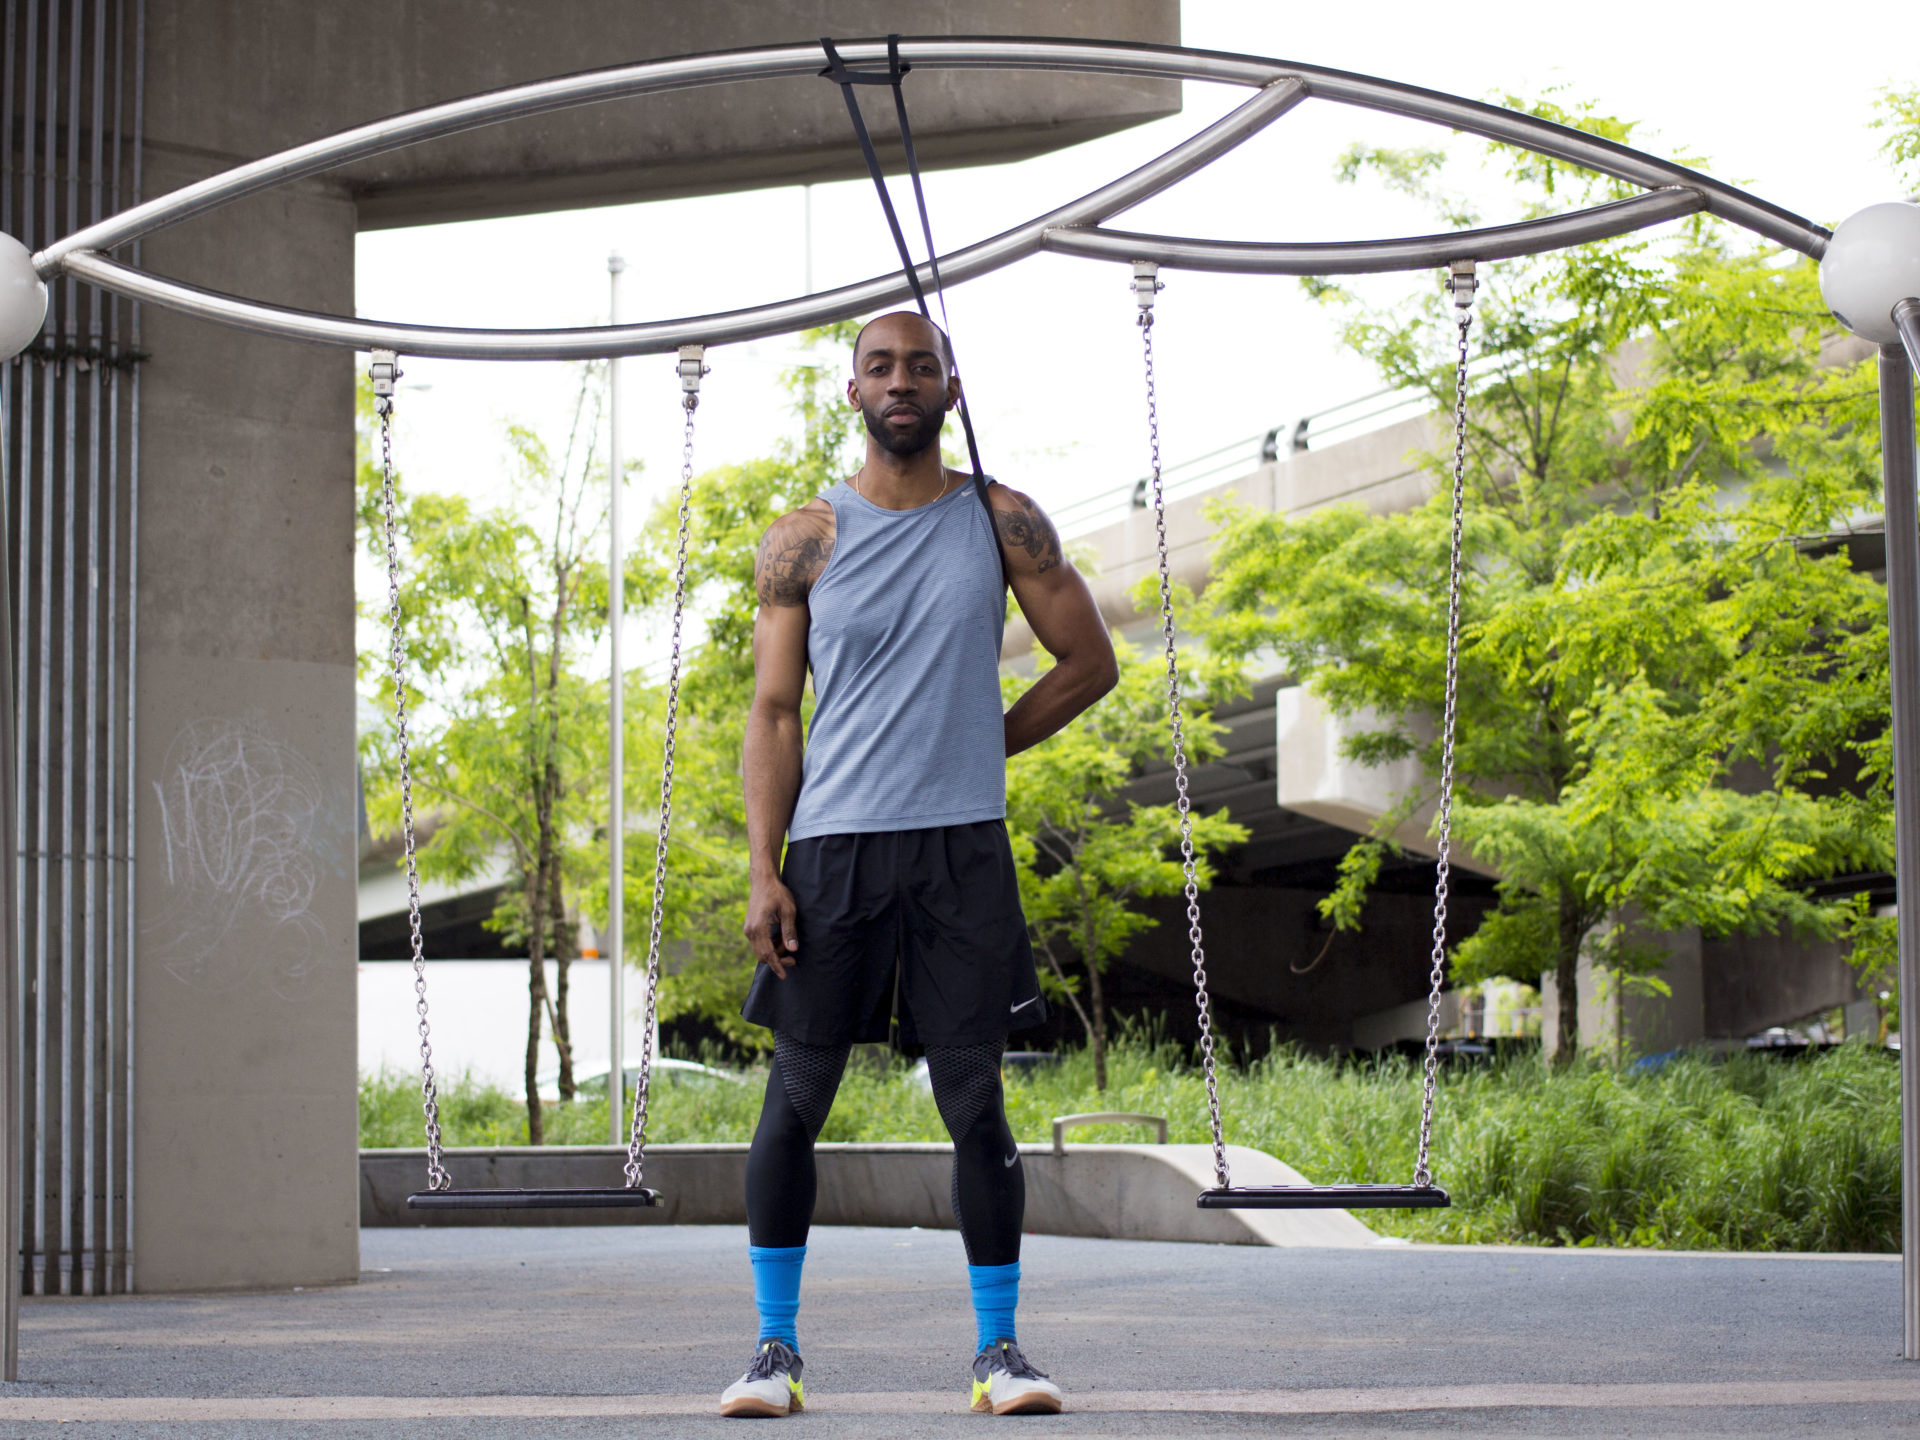
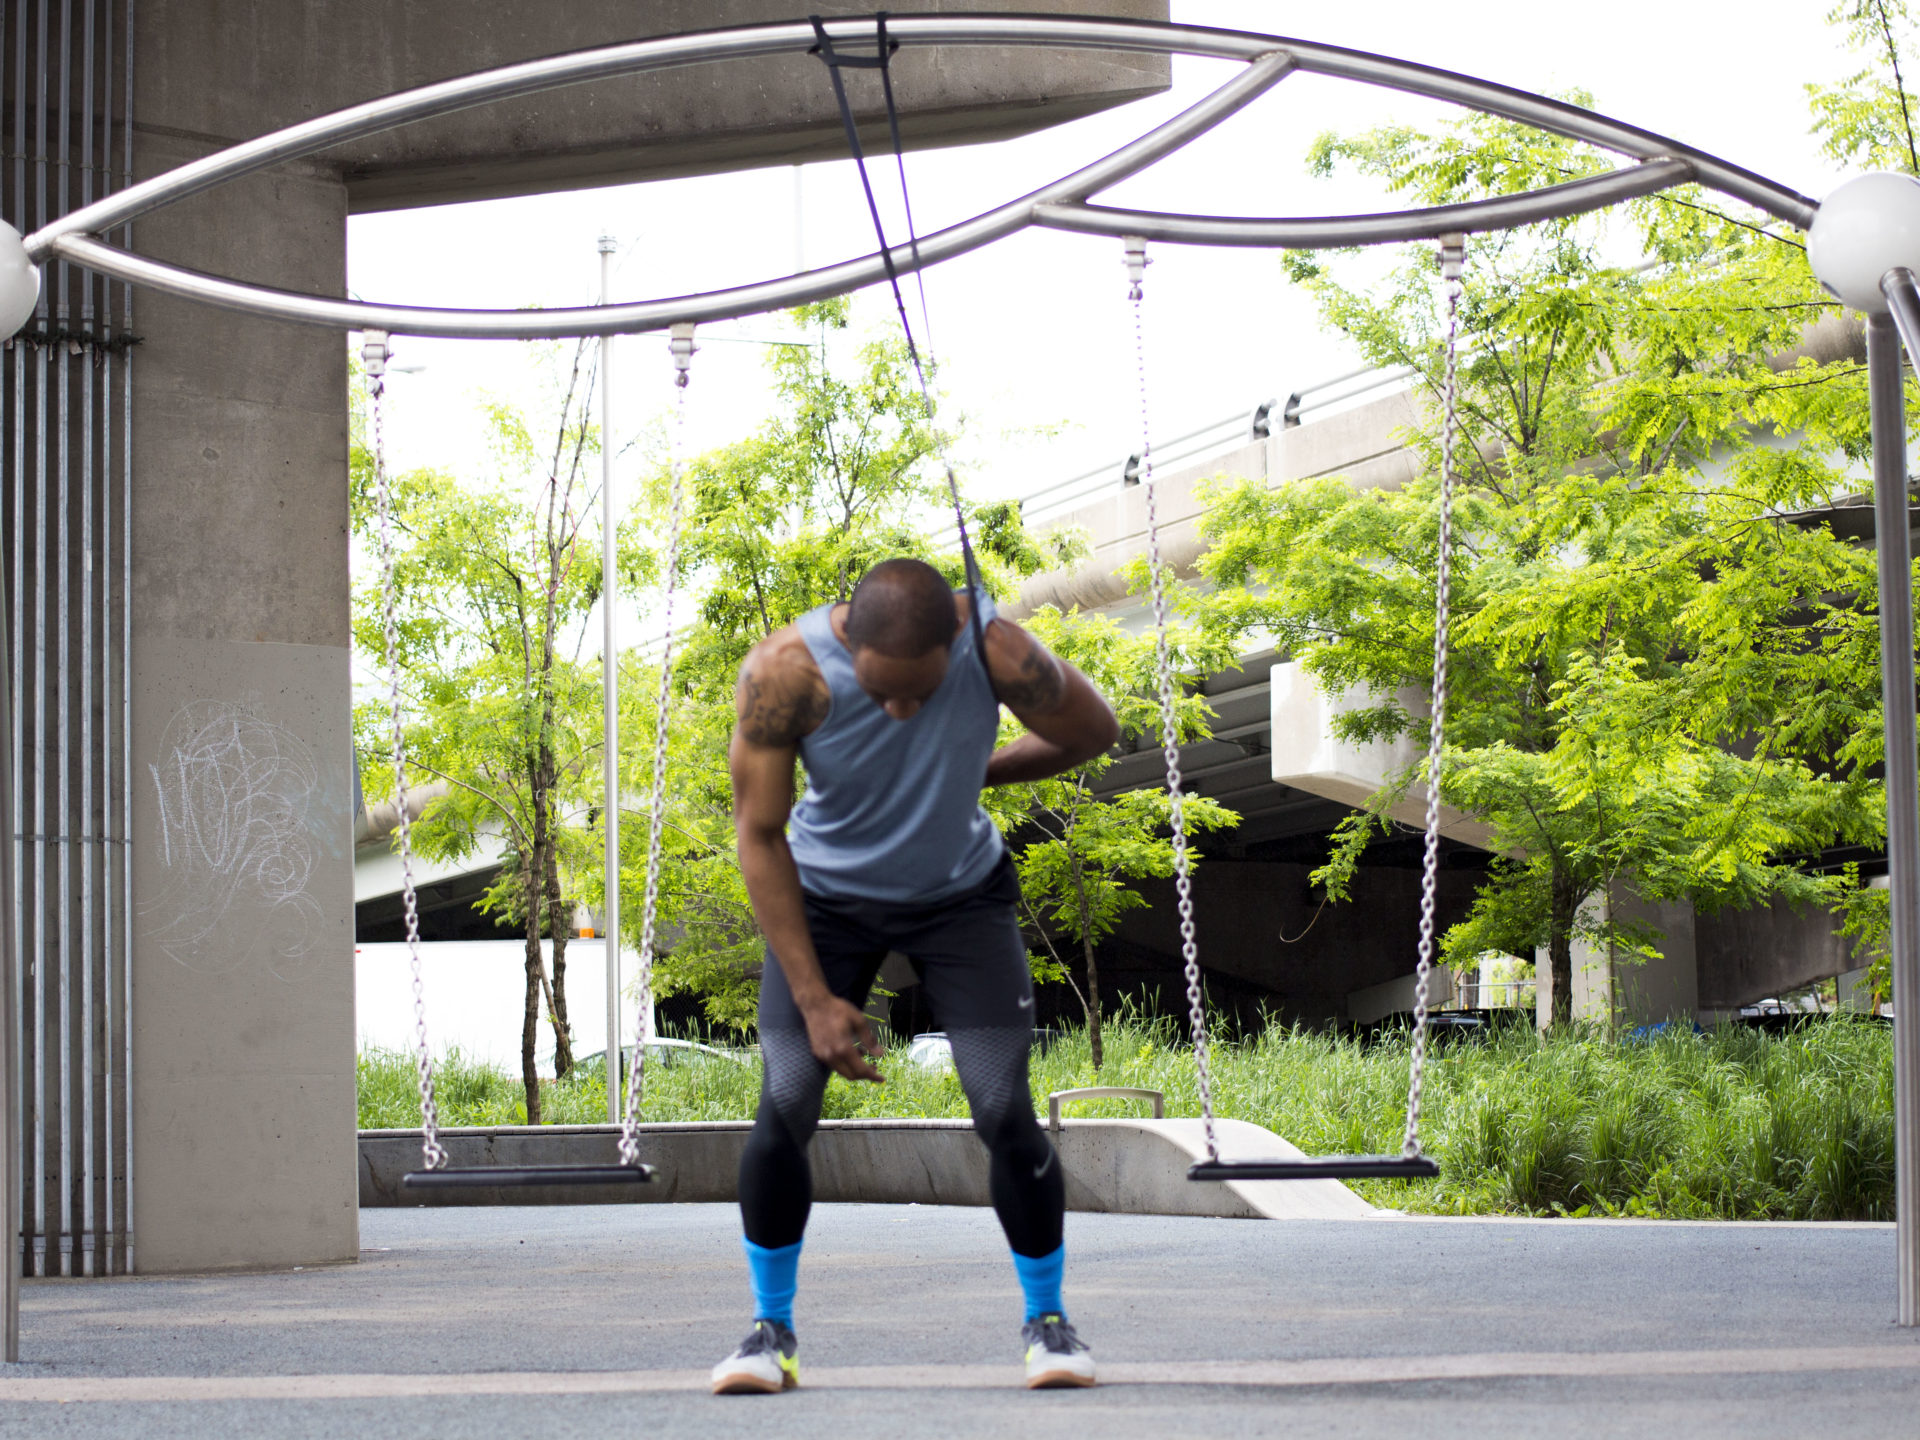
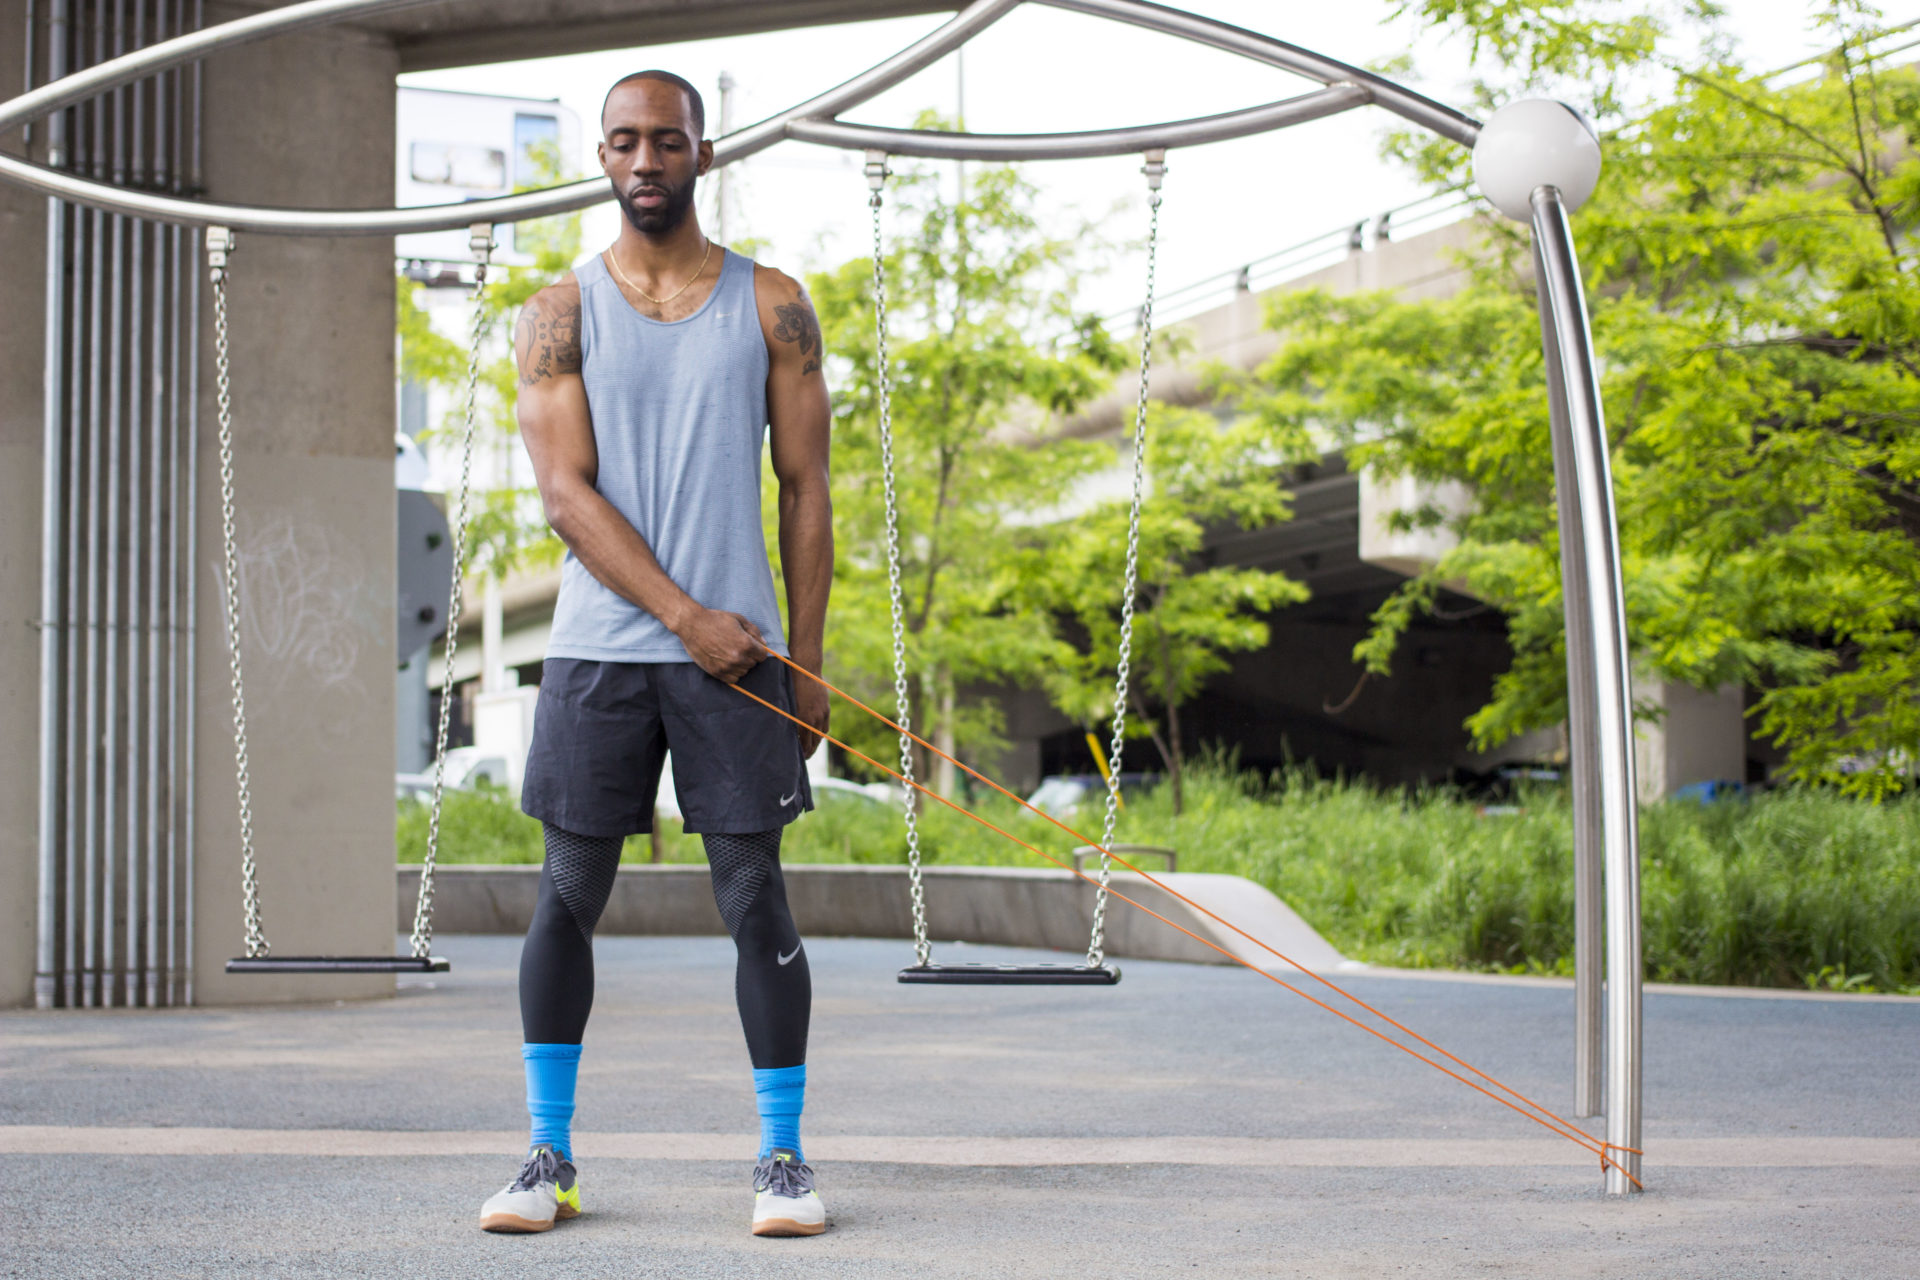
    This movement is a more complex, multidirectional movement involving the rotator cuff muscles. It incorporates the supraspinatus, infraspinatus, and teres minor and teaches them to coordinate themselves while stabilizing the shoulder blade throughout the movement.

    Wood Chopper
    ralph
    ralph
    As the “lawn mower” exercise above, this is more advanced, multi-directional movement. This one aims to get the other rotator cuff muscle, subscapularis, working with your larger chest and back muscles.

    Our shoulders are a muscle group that we usually don’t think about throughout our day. But when we experience some sort of injury, regardless of it’s severity, pain and weakness can limit our ability to effectively coordinate our everyday complex movements. Including any upcoming Summer sports, activities, and events with family and friends. That’s why these seemingly “simple” exercises are so important to help rehab ourselves back to our full potential.

    Use these exercises but make sure you speak with your local therapist to ensure the specific aspects of your injury are well understood.

    2 min read

    How To Spoon Without Shoulder Pain

    Posted on

    How To Spoon Without Shoulder Pain

    So you have your evening planned with dinner reservations, some drinks, followed by some alone time spent at home.

    I’m sure a romantic night with your significant other will involve some spooning, but cuddle time with your partner could result in back and shoulder pain the morning after.

    Here is your 4 step guide on how to avoid shoulder pain after an evening of spooning.

    ralph

    Think about your shoulder position

    • Spooning can put your arm in significant protraction and put a lot of stress on your shoulder. Before you settle into your spooning position, put your shoulder in a better position by creating more shoulder retraction to create better alignment.

    ralph

    Add durability to your shoulders 

    To help bulletproof your shoulders for cuddling sessions, incorporate more shoulder stabilizing workouts.

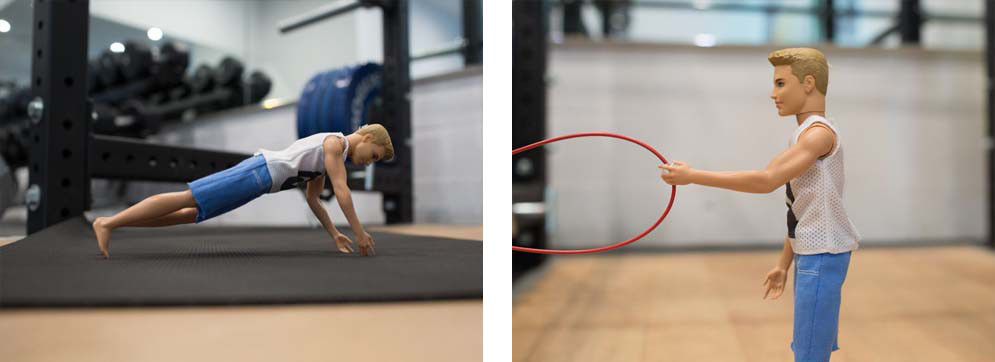
    • Plank – Perform 30s hold / three sets
    • Row – Perform ten reps/ three sets

    ralph

    Take turns being the little spoon

    • I know the man usually sets the tone for the cuddling position, which usually involves playing the big spoon. But who’s to say only one person has to play the “little spoon” role in the relationship? By switching roles, you will provide a break for your shoulders and lessen the stress for each of you.

    ralph

    Switch positions

    • We all have our preferred position, regardless if it is right for you or not. If you regularly sleep on your right side a couple of times a week, you should challenge yourself to switch sides. Same goes for tonight’s spooning session. If you slept on your left last night, try to cuddle laying on your right side.


    3 min read

    How To Carry Your Bag And Avoid Shoulder Pain

    Posted on

    How To Carry Your Bag And Avoid Shoulder Pain


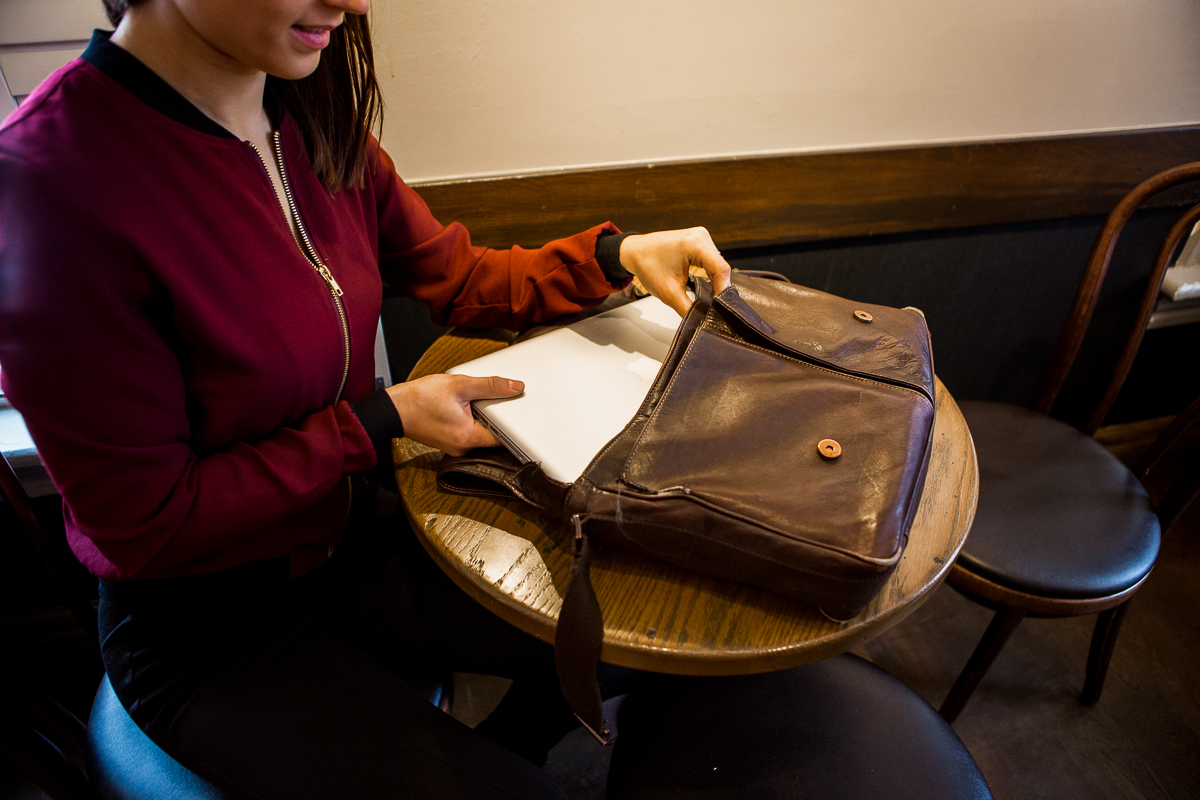
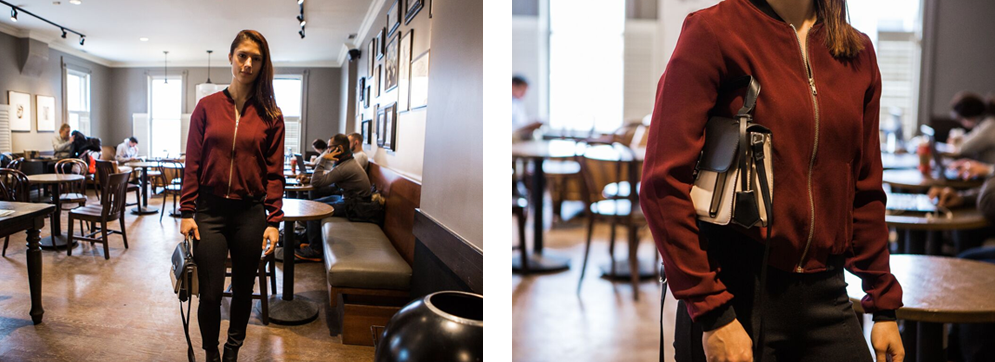
    While living in the digital age, it’s easy to choose fashion over function. Without thinking twice, we will purchase the fancy looking purse or handbag over the practical and functional option, which can lead to shoulder pain.

    The problem is that while we may look fly AF walking with our large *insert name brand here* purse, the constant load on our shoulder can lead to neck, shoulder pain, lower back pain and dysfunction.

    Carrying that heavy bag can cause your natural gait to be thrown off (by interfering with your arm swing), your center of gravity will shift to the side, and your bag will also cause your upper trapezius muscles to become overactive and stiff.

    Here are five tips you can use to try and decrease the adverse effects of carrying a purse.

    Try a cross body bag

    ralph

    Instead of loading one side of your body with a heavy weight, causing your body to carry an asymmetric load, try using a cross body bag to distribute the forces through the body better.

    Reduce the load

    ralph

    While this may seem like an obvious one, lessening the burden that you carry on the daily can significantly reduce the strain you place on your shoulders and neck. Consider doing a weekly inventory of your purse to see what you need or don’t need.

    Switch your bag on your other shoulder

    ralph

    This may be a tough one to get used to as you likely have developed muscle memory and subsequent tension on the side you carry your bag on, but switching shoulders periodically can help distribute the load, and decrease the strain and asymmetry on your body.

    Try a backpack

    ralph

    I know you are probably rolling your eyes at this one, but there are a lot of fashionable backpacks to choose from! Switching to a two strap bag can significantly reduce the amount of strain and asymmetry a large shoulder bag would otherwise cause. The load will evenly distribute the weight through your body, and you will be able to walk with a normal gait.

    Use a dynamic purse/bag

    ralph

    Try using a bag with different strap options. Switching between cross-body, on the shoulder, and holding the purse as a clutch can offer rest to those often overused, upper trapezius muscles.