2 min read

Dr. Kevin Marryshow

Posted on

Dr. Kevin’s Top 3 Drills to FutureProof Your Run


When it comes to running, preparation is key. Whether you’re a seasoned marathoner or just starting out, taking the time to warm up properly can make all the difference in your performance and longevity. To help you FutureProof your runs, here are three essential drills and stretches from Myodetox’s Dr. Kevin Marryshow.


1. Single Leg Stability

Warming up isn’t just about getting your heart rate up—it’s also about engaging the muscles you’ll rely on during your run. This first drill focuses on balance, strength, and activating key muscle groups.

How to Do It:
  • Step 1: Start by driving your right knee up toward your chest. This motion activates your hip flexor.
  • Step 2: As you balance on your left foot, drive your right leg behind you. It’s important to keep a slight bend in your front knee to engage your muscles properly.
  • Step 3: Repeat this movement 8-10 times on each side, focusing on maintaining balance and controlled movements.


2. Split Stance Stretch

Next, let’s get into a split stance to open up the front of your body, particularly the hip flexors and abdominals. This drill also helps to prepare your mid-back and thoracic spine (T-spine) for the rotational movements involved in running.

How to Do It:
  • Step 1: Step your left leg forward and your right leg back into a split stance. Slightly bend your front knee, ensuring your back leg stays straight. This position mimics the split stance you’ll be in during your run.
  • Step 2: Take the opposite arm and reach across your body. This motion will open up your hip flexors and abdominals while rotating your mid-back.
  • Step 3: Repeat 8-10 times each side.


3. Back Line Opener

The final drill focuses on opening up your posterior chain—the muscles that run along the back of your body, including your hamstrings, glutes, and calves.

How to Do It:
  • Step 1: Step your right foot behind you, keeping your opposite heel on the ground and toes pointing up.
  • Step 2: Straighten your knee and sit into your hip while reaching the opposite arm across your body. This creates a dynamic stretch from your glutes down through your hamstrings and into your calves.
  • Step 3: Hold the stretch briefly.
  • Step 4: Perform about 8-10 reps on each side to fully engage and prepare your muscles.


Ready, Set, Run!

These three drills are quick, effective, and essential for any runner looking to stay injury-free and perform at their best. Incorporating them into your pre-run routine will help you warm up your muscles, enhance your stability, and prepare your body for the demands of running.

Even on busy days, make time for these stretches and exercises—they’re your secret weapon for a strong, FutureProof run.


Ready to Futureproof?

Find your nearest clinic


3 min read

Alex Hart

Posted on

How To Bar Hop Without Lower Back Pain

After a long day of work, spending a few hours unwinding at the bar with friends is common for a lot of us. But hours of drinking ultimately leads to prolonged sitting and standing, which could result in nagging lower back pain.

Nobody thinks about physical health while enjoying themselves at the bar. But you may want to reconsider and start using the chair or foot rail to help reduce that nagging lower back pain.

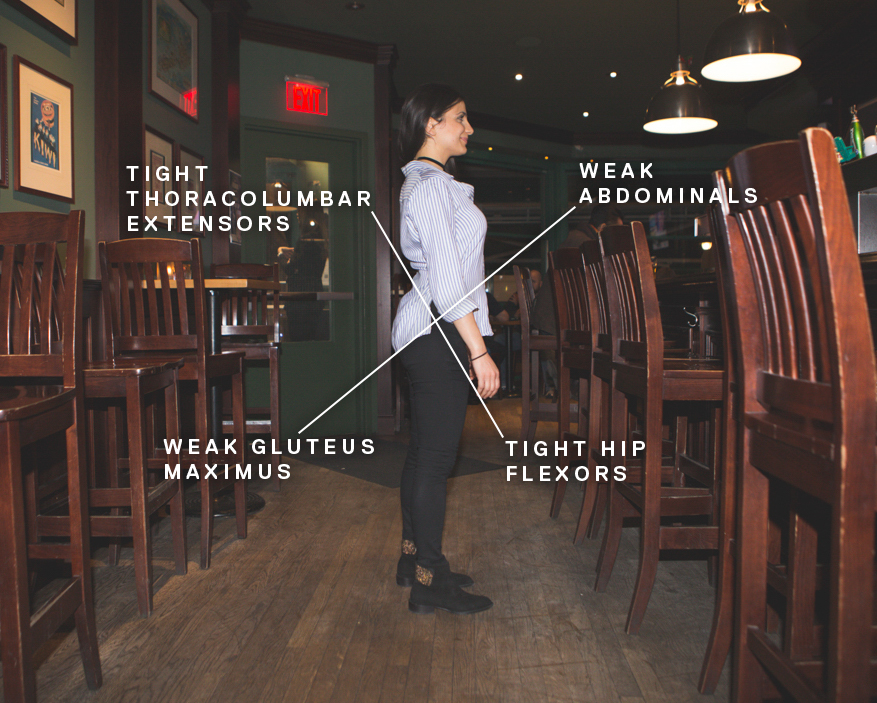
Difficulties meeting the prolonged postural demands hints towards a bigger issue than simply, “back pain.” This term has previously been called lower cross syndrome and is a way to conceptualize a combination of muscle imbalances that results in constant lower back pain.

ralph

These imbalances typically consist of the following:

  • Tight lumbar extensors
  • Weak / Inhibited Abdominals
  • Tight Hip flexors
  • Weak / Inhibited gluteus muscles

The result is a hyperlordosis in our back, more commonly known as anterior pelvic tilt. But good news! If you find yourself stuck in this situation, you can work to counteract some of the tight muscles that may be causing these issues.

Here are three quick exercises you can do at the bar without catching too much attention.

ralph

90/90 Breathing

This move is a great workout that uses specific muscle activation patterns to help alleviate a tight lower back and hip flexors.

  • In a sitting position, place your heels in front of the two front legs of the chair.
  • Make a fist with both hands and place them between your knees.
  • Press your heels into the legs of the chair, activating your hamstrings on the backside of your thigh.
  • Lightly squeeze together your knees against your fists, activating your adductors (groin muscles).
  • While breathing slowly, imagine tucking your tailbone underneath yourself, this is called a posterior pelvic tilt.
  • Repeat this for 2-3 minutes.

ralph

Couch Stretch

This move stretches out your hip flexors, which often tightens after prolonged standing ?

  • While standing and using a high chair, bring your foot up to the seat
  • Tuck your tailbone underneath yourself by lightly contracting your abdominals.
  • Take slow and deep breaths in through your nose and exhale through your mouth.
  • Repeat this for 20 secs, 2-3 times.

ralph

Figure Four Stretch

This stretch will target a muscle deep to the glutes called the piriformis. Doing this move will help alleviate some of the tightness  on the tailbone you feel from a long period of sitting. 

  • Using a high chair in front of you, bring your leg up onto it so that the outside of your shin is flat on the seat.
  • Take a deep breath in and out, and lightly lean forward at the hips do go deeper into this stretch
  • If your leg doesn’t lay flat, feel free to use a fist between your knee and the seat surface.
  • Repeat this for 20 secs, 2-3 times.

So next time you decide to spend an evening at the bar, make sure to try these exercises and avoid a “lower back hangover.”

4 min read

Steve McGeachy, C.P.P.S.

Posted on

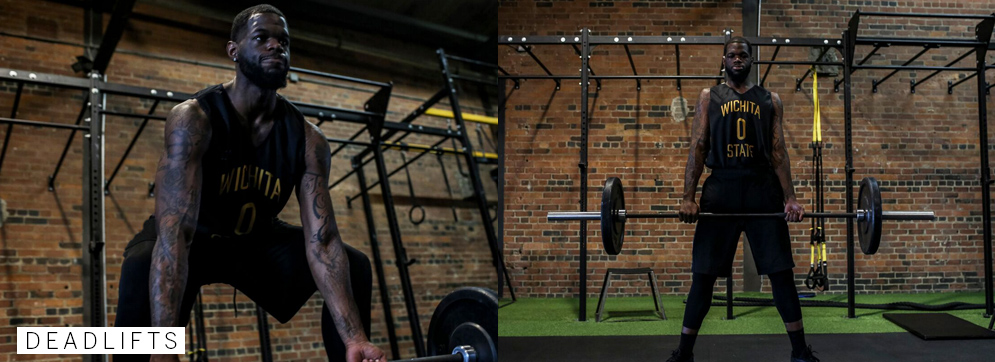
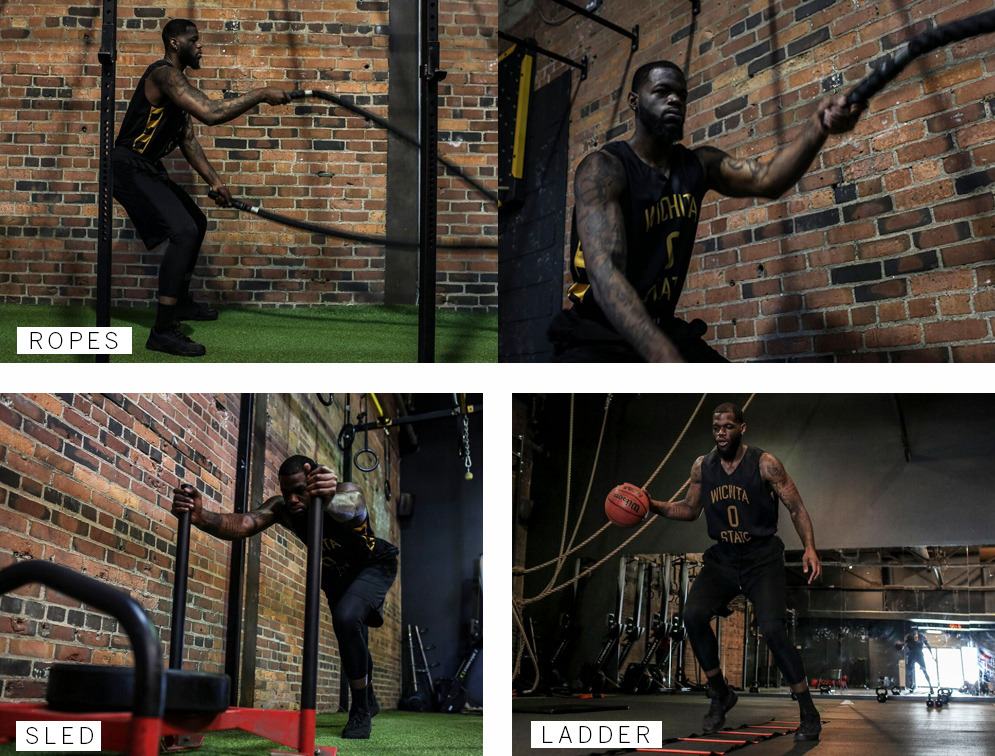
This is the only workout you need to know this offseason

You’re an athlete and your season is over. Now what?

The offseason of today is much different than it was before. Back then, taking the time off, so your body and mind could recover was a priority. Now the offseason is more about improving your game so an athlete can build and progress from the previous year.

A proper offseason training regimen can improve many different aspects of your game such as injury prevention, flexibility, strength, conditioning and recovery time.

The demands of a season can take a toll, and the daily grind can wither your body down. But with more of a focused and planned program during the offseason, it’s easier to avoid the injury pitfalls and it will put you in a better position to succeed.

The following is a breakdown of an off-season training program that will have you ready for training camp.

elias

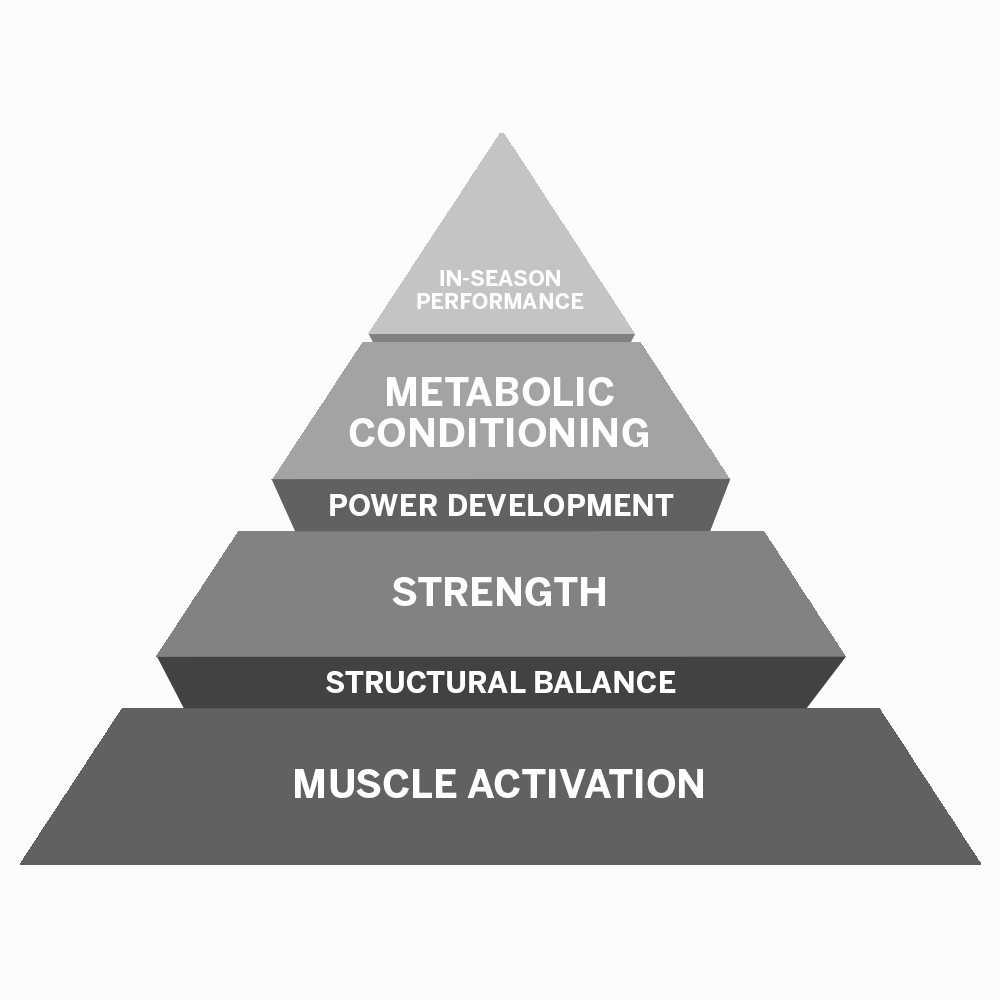
Muscle Activation and Mobility

elias

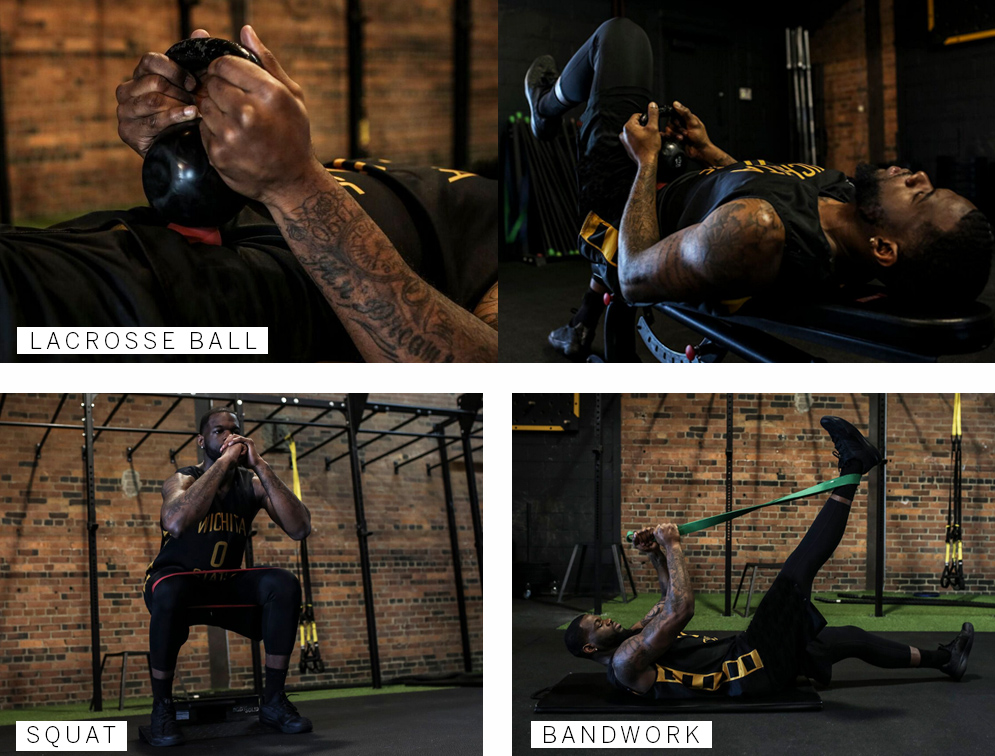
Muscle activation is the foundation of our system. It’s crucial every muscle is firing correctly. If muscles aren’t firing properly, we can’t progress into the strength and power phase for the simple fact that we would be strengthening a dysfunction. For example, if an athlete can’t perform a simple bodyweight box squat, there is no way they will be able to do a loaded barbell squat properly.

Strength and Power Development

elias elias


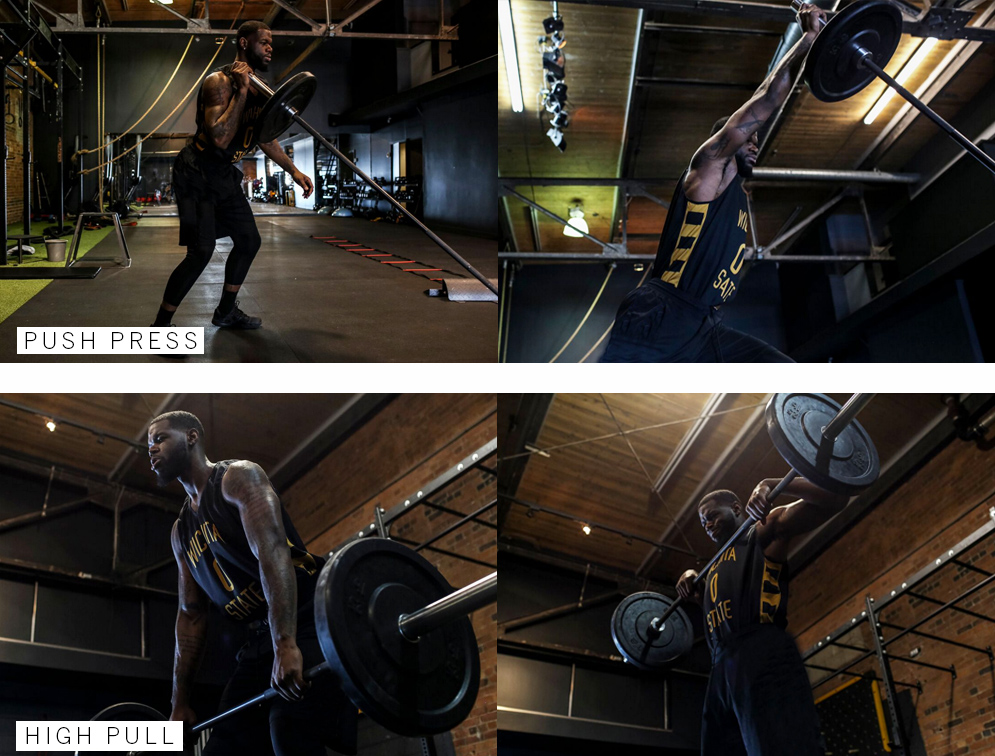
Once we have completed the muscle activation and structural balance phase, the next step is developing strength and power. This action will help the athlete increase lean tissue while dropping body fat, create more explosiveness throughout the whole body, and strengthen the ligaments and tendons.

Depending on the athlete and their sport, we may focus on improving relative strength, which increases the players strength but keeping their mass gain to a minimum. This is key for positional players like point guards in basketball or extreme athletes like boxers and MMA specialists.

NOTE: Super sets, volume training, and pyramid rep schemes can all be implemented in this phase. 

Metabolic Conditioning

elias

Following the strength and power phase is conditioning. This stage targets muscular endurance, cardiovascular and recovery time. It’s best to introduce the conditioning phase last because by this point, your season is around the corner and your body should be optimized to meet the demands of team tryouts and camps.

We incorporate drills focusing on agility, velocity and sport specific movements depending on the position of the player. After this phase we ideally transfer the player on to the court or field where we would introduce workouts mirroring game situations and intensity. For basketball, our players would now begin to run conditioning and shooting drills on the court as this is where we look to exploit the power we have built for the past few months.

elias

As the season progresses our athletes would begin our ”in-season” program which strives to maintain strength, agility and range of motion.

If you stick to a disciplined program during the offseason, your game will elevate to another level, and your body will be more sustainable throughout the season.

elias