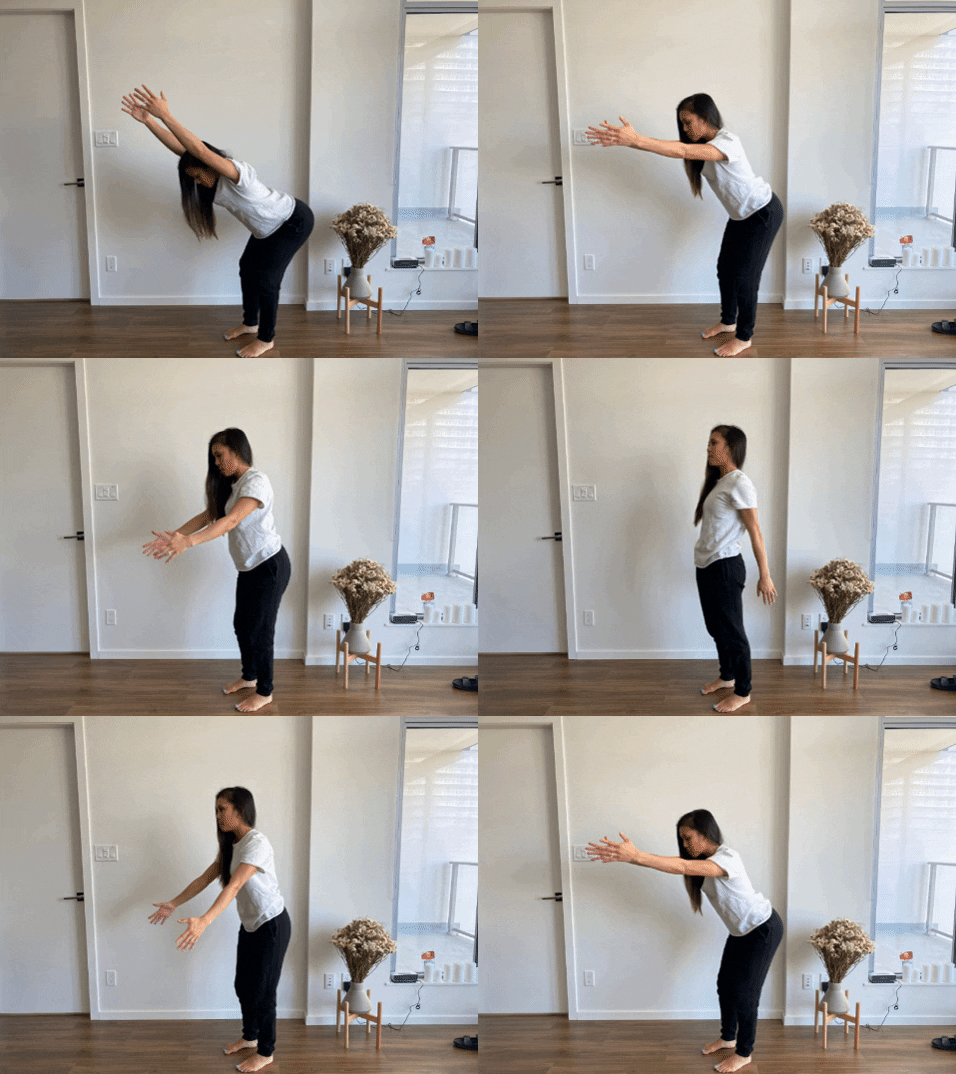
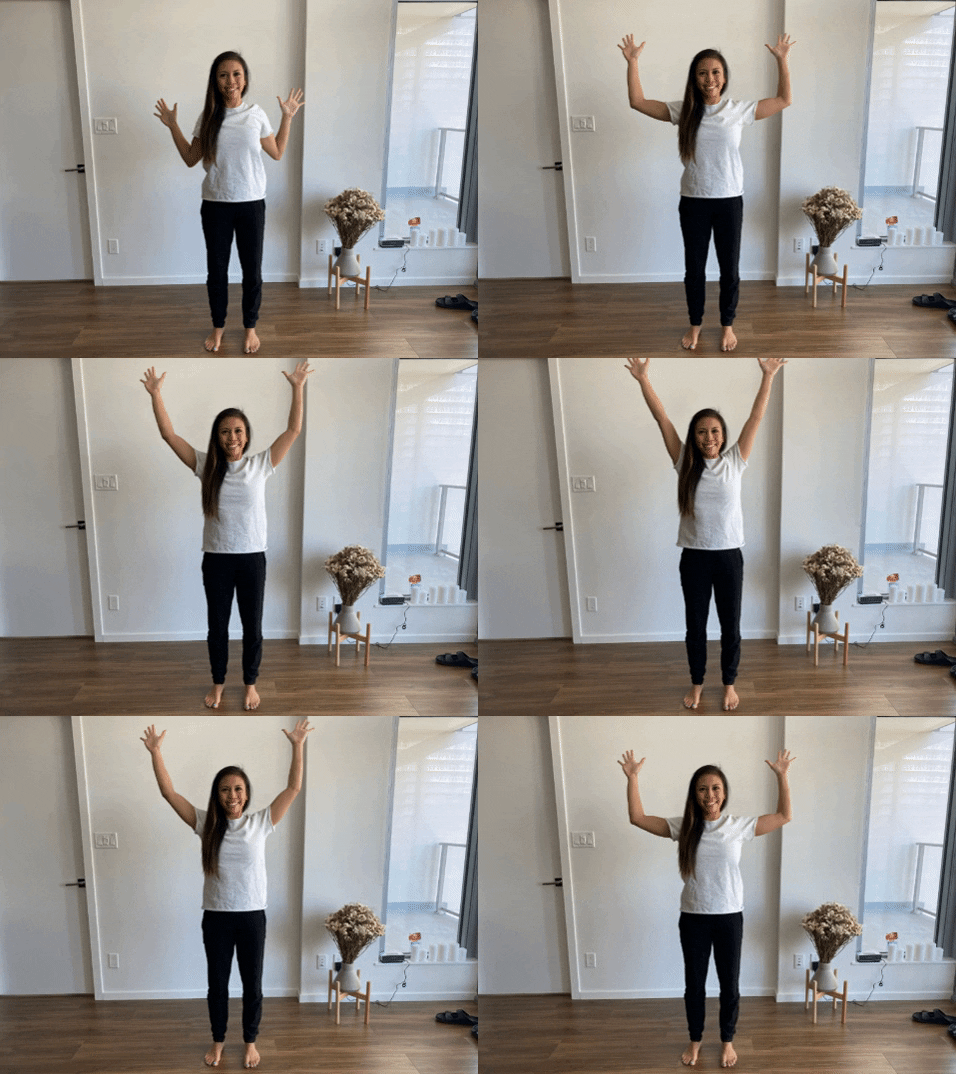
2 min read

Kaila Lunny

Posted on

Increase Your Mid-Back Mobility With These Three Exercises

The thoracic spine, also known as the middle back, is the middle section of the back, where our ribcage connects and helps protect our organs.

Functional mobility in the middle back (mid-back) is essential. A lack of mid back mobility over time can be a significant factor of improper breathing techniques, neck pain, low back pain, and shoulder pain. Those who are most at risk for losing thoracic motion include office workers, professional drivers, new moms, or anyone sustaining poor postures.

Maximizing your mid back mobility is the first step in overcoming mid back stiffness. The more you can build new movements into your daily routine, the sooner you will feel better. The second step is building control in those directions, adding strength and familiarity to those movements.

To help increase the mobility of your mid-back, try these three exercises.

Standing Rib Cage Rotation

Start position Stand in a mini lunge. Raise the arm on the same side as your front leg to shoulder height and the opposite arm straight above your head.

Rotate the ribs as far as you can towards the front leg. Keep legs and arms in the same position.

End position After 3-5 seconds, rotate back to starting position.

Complete 8-10 times on both sides, 2-3 times daily.

Standing Thoracic Extension With Double Arm Reach
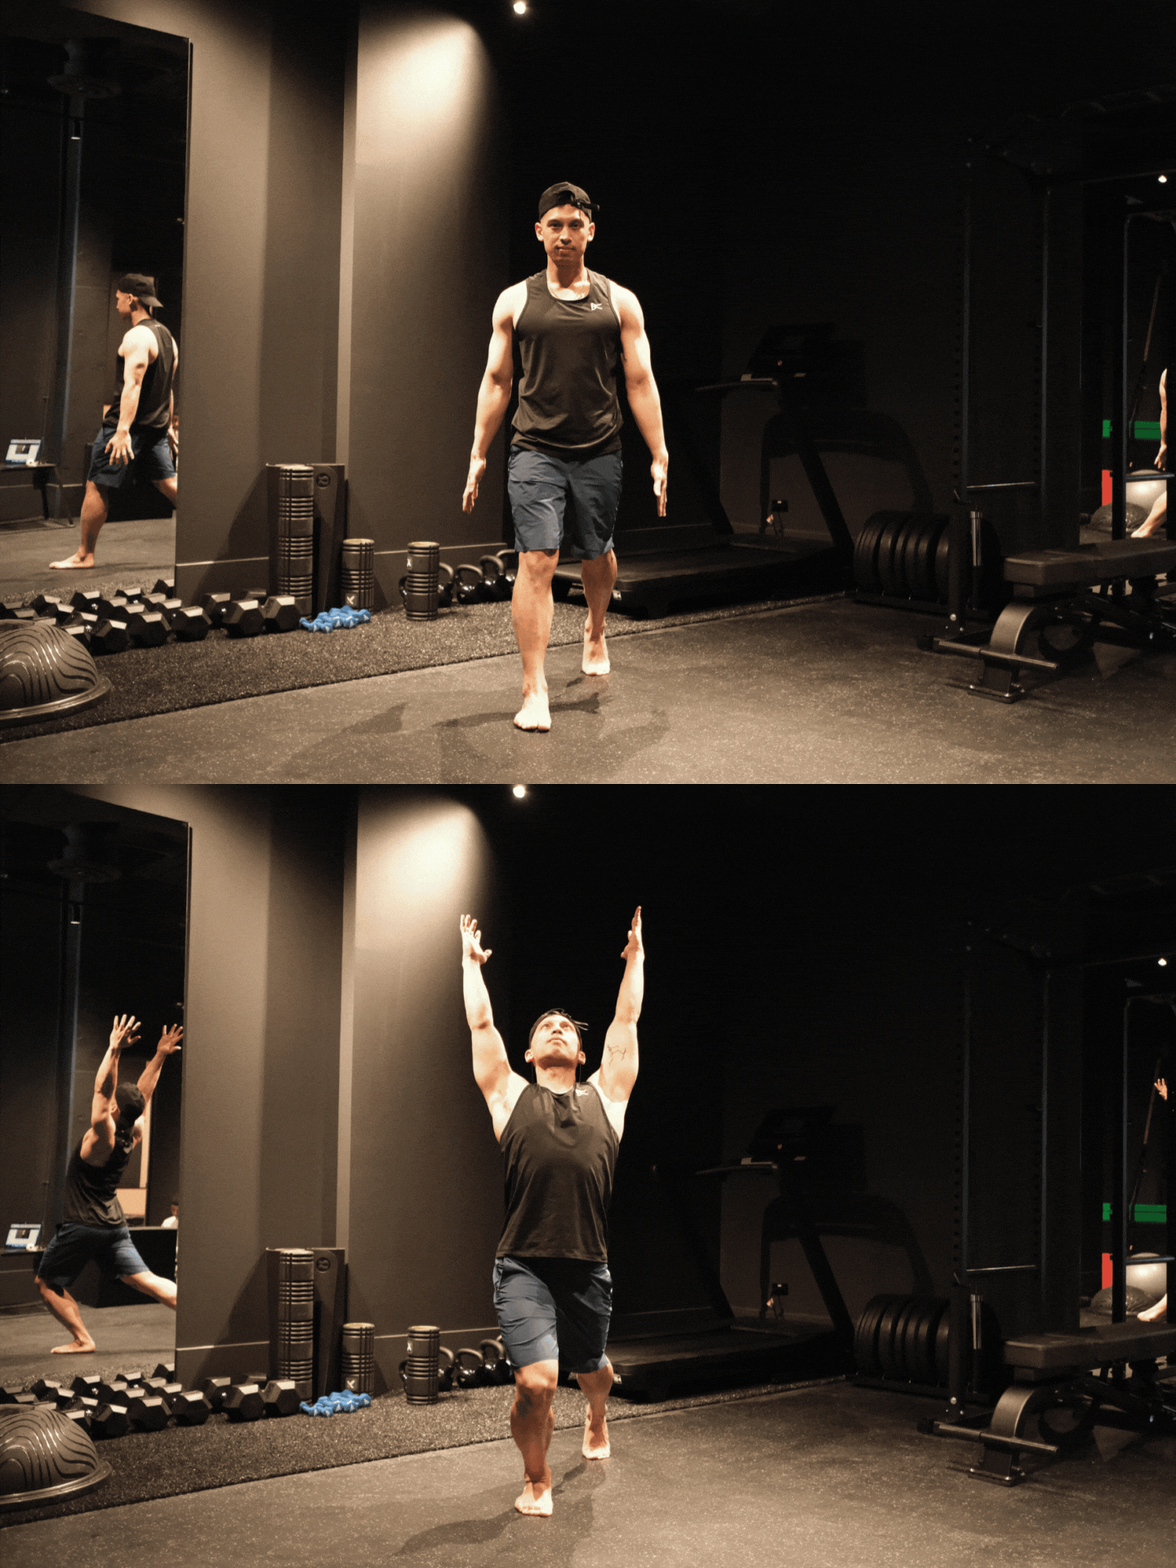
Standing Ribcage Rotation

Start position Stand in a mini lunge. Arms long by side. Tuck bottom under to limit lower back movement.

End position Raise both arms and lift chest upwards to extend mid back.

Complete 5 times on both sides, 2-3 times daily.

Side Bend Stretch
Girl stretching her back
Start position Stand in a mini lunge. Lace hands behind neck at base of neck, keep elbows wide.

End position Lift one elbow up to the ceiling. Allow ribcage to tilt to one side. Feel stretch between ribs and pelvis.

Complete 5 times on both sides, 2-3 times daily.

Ready to improve your movement?

Find your nearest clinic

3 min read

Dr. Natalie Lopez Gundin

Posted on

Prevent Text Neck Pain With These Three Exercises

Text neck, or what is otherwise also known as “tech neck,” is a catchy term coined to describe forward head posture after hours glued to your phone, laptop, or TV.

Text neck may lead to stiffness, and dull pain either felt at the top of the neck or the lower neck close to the shoulders. For some people, the sustained tension in their neck can lead to cervicogenic headaches, or what is commonly known as tension headaches.

People’s resting postures where their head is forward, rounded upper, or rounded shoulders are just a few of the symptoms that lead to text neck. The longer you have forward head posture, the more force gets placed on the neck. Without proper prevention, this feeling of discomfort or tightness may eventually lead to other issues like nerve irritations, headaches, thoracic outlet syndrome, or disc bulges.

To help defend your body from neck pain, try these three exercises.

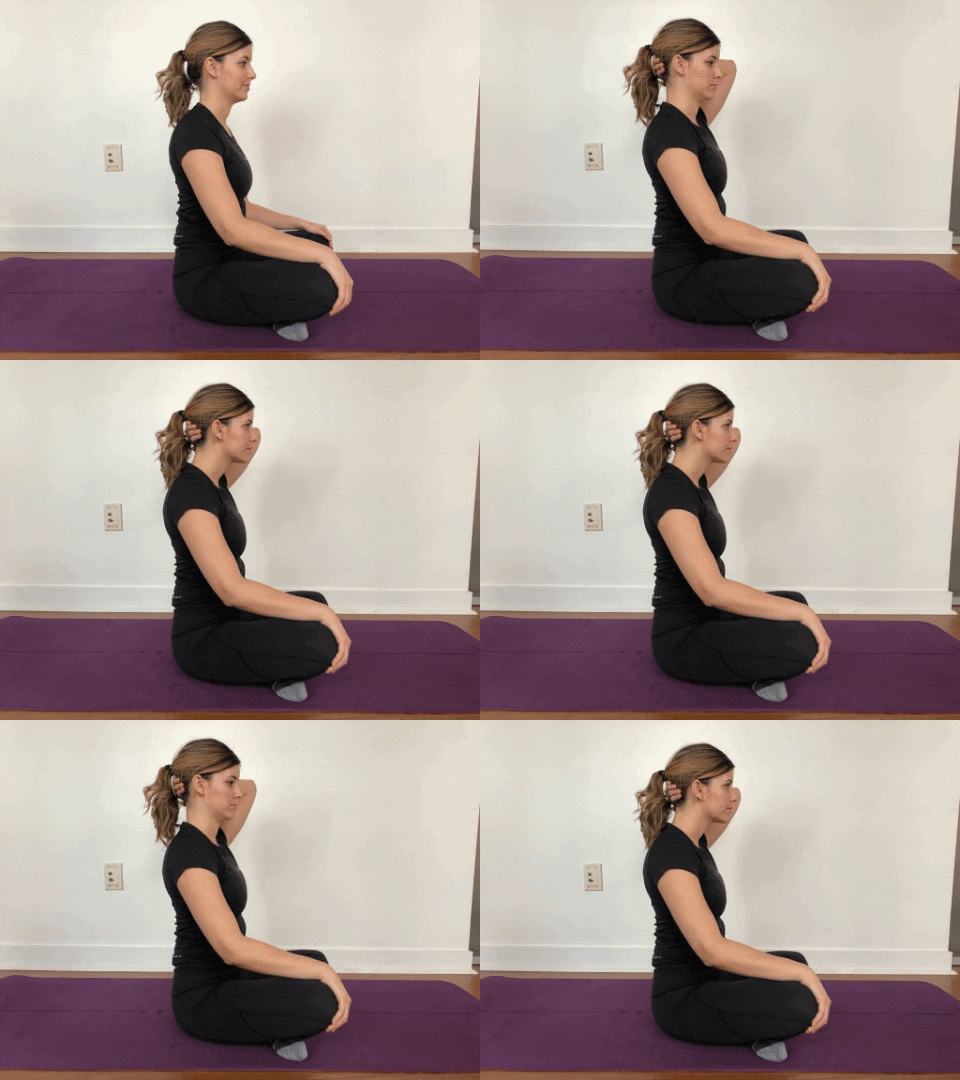
Seated Chin Tucks
Girl doing chin tuck
Start position Bring your hand behind your head and tuck in your chin. Press the back of your head into your hands, while looking straight ahead.

End position After 5 seconds, release the tucked chin position.You should feel a stretch at the top of your neck and a slight contraction on the front of your neck.

Complete 8 x, every 30 minutes.

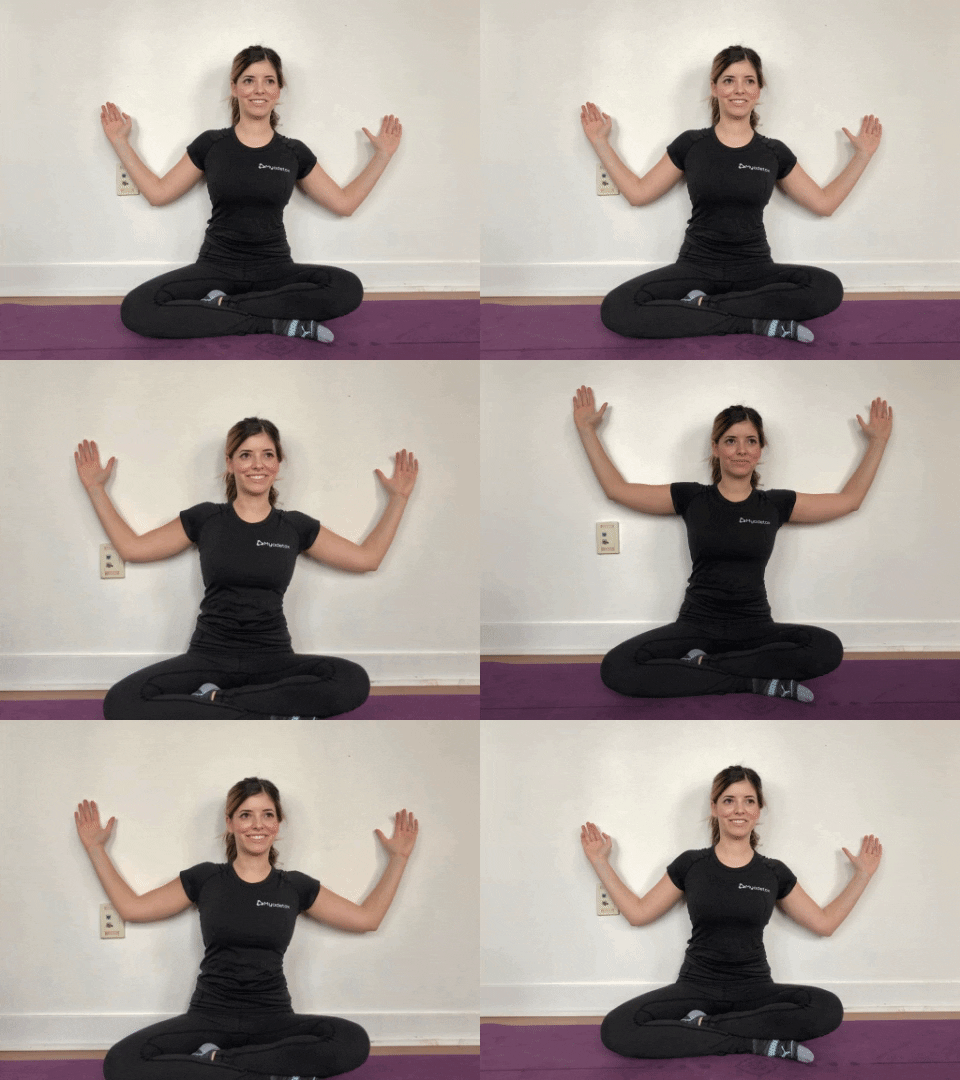
Chin Tuck and Wall Angels
Girl doing chin tuck and wall angels

Start position Lean against a wall, either standing or seated and begin to tuck your chin. Bring your arms up into shoulder height with your elbows bent at a 90-degree angle.

End position Slide the arms up and down the wall in a snow angel position, and maintain the chin tuck throughout. It’s essential to try to keep the backside of the forearm against the wall during this movement (if you can’t, that’s okay go as for back as you can).

You should feel a slight stretch on the back of the neck, a stretch in your chest and a slight contraction at the back of your shoulders. If your shoulders are tight this will feel like a bit of work on the front of the shoulders

Complete 8-10 reps, every 1-2 hours.

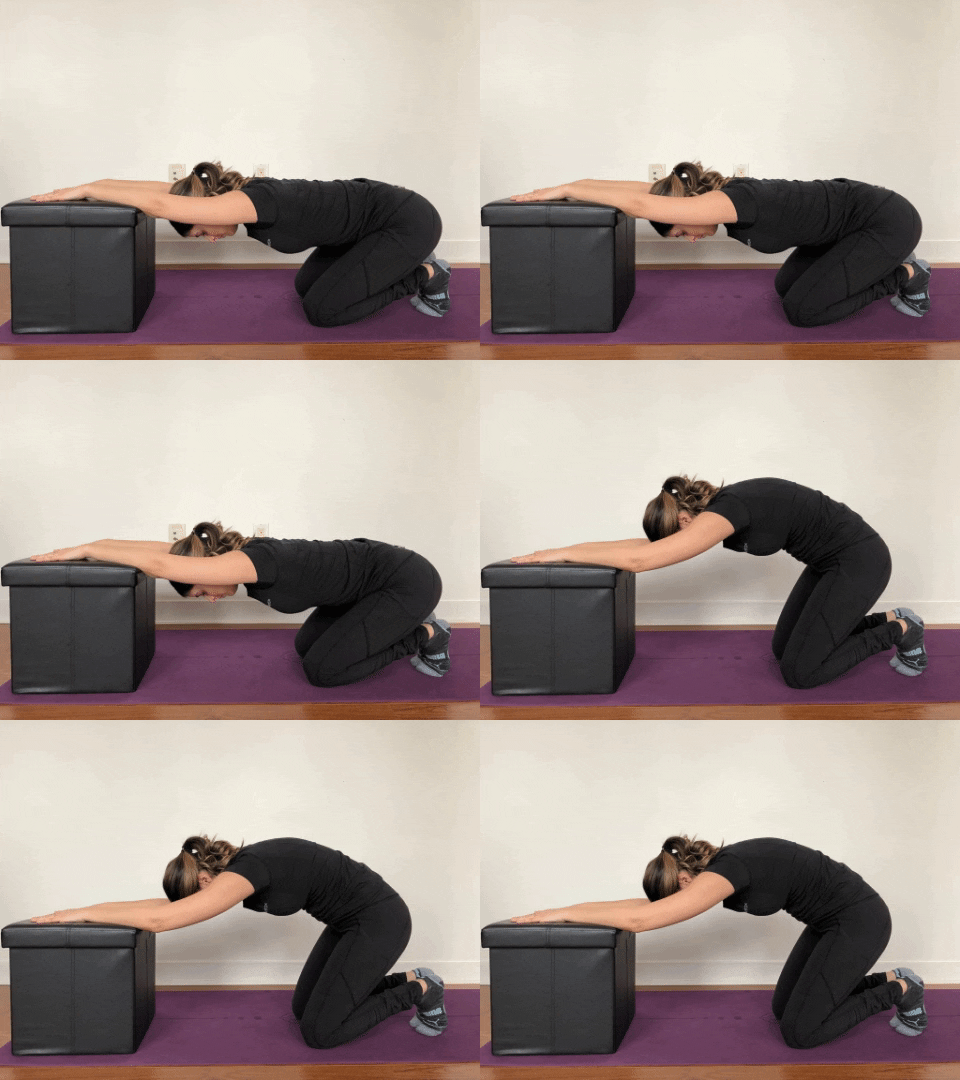
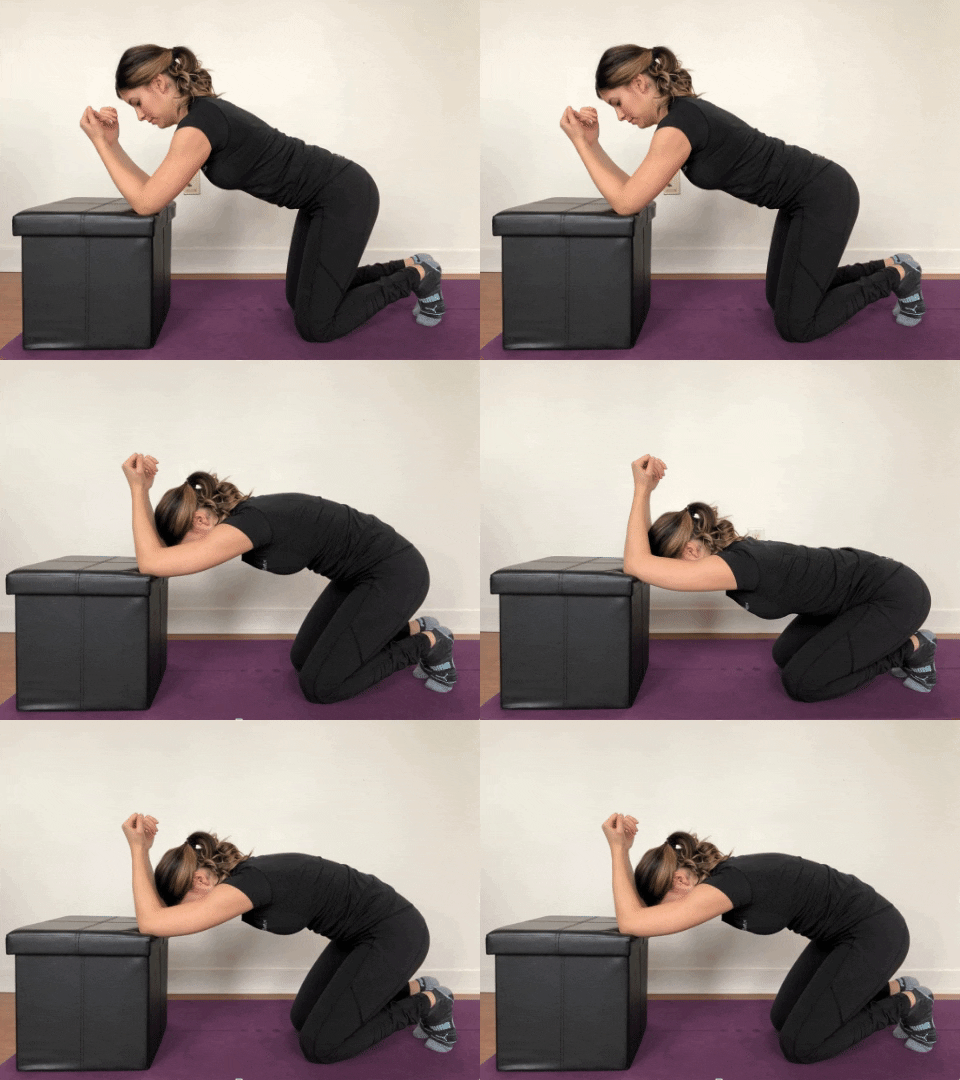
Thoracic Spine Extension
Girl stretching her back Girl stretching her back
Start position You can use the side of your couch, bed, or desk/table. With either your elbows bent or arms straight (whichever is most comfortable), slowly bring your chest down and your head through your arms.

End position Now begin to round your spine as high up as you can. Repeat and continue this movement through your upper back.

You should feel a stretch in your upper back between your shoulder blades and in your armpits.

Complete 10 reps, every 1-2 hours.

2 min read

Christina Lumba

Posted on

Relieve Low Back Pain With These Work From Home Exercises

While we all find ourselves adjusting to the new normal, your workspace is now your home, and today, you’re putting in up to eight hours of work on your couch, bed, or kitchen counter.

While you adapt to your new setting, you may experience tightness in the low back and soreness through the hip. Sometimes it may feel like there’s a discomfort in the hip as it travels down the back of the leg.

While this pain can often be mistaken for sciatica, medically, it’s known as pseudo sciatica or piriformis syndrome. All of these signs and symptoms are results of mechanical back pain, due to weak muscles in the hips and core.

To help protect your body from low back pain, we put together a series of exercises that you can do while working from home.

Standing Cat Cow
Girl with one leg pressed against wall
Start position Round your shoulders and look down. You’ll begin to feel the stretch between your shoulder blades.

End position Lookup, squeeze your shoulder blades together and pull your shoulders back until you feel the stretch in your chest or the front of your neck

Complete 10 reps, 3 x.

Hip Hinge
Girl squatting with kettlebell

Start position Hinge at the hips to sit back, keeping a slight bend in your knees. Reach your arms up beside your ears.

End position Standing up strong by squeezing your hip muscles, pulling your arms down to your side and your shoulders back.

Complete 10 reps, 3 x.

The W
Girl with one leg pressed against wall
Start position Start by standing with both arms overhead in the shape of a ‘Y.’

End position As if pulling down on something, squeeze the elbows to your sides, and your shoulder blades down your back. End in the shape of a ‘W.’

Complete 10 reps, 3 x.

1 min read

Staff

Posted on

This Is Why You Don’t Have Good Posture

If you’re not standing or sitting straight, it’s not your fault you don’t have good posture.

How often do you hear the importance of good posture? They’re either nagging you to, “sit straight, keep your chest out, and stomach in!
” or “stop slouching and keep those shoulders back!”

You’re constantly bombarded with advice and suggestions on how to be “posturally sound.” But unless you make a conscious effort to “sit straight”, you are quick to revert to your old habits! Here’s what you guys have been waiting your entire life to hear – it’s not your fault! 

The problem is that people confuse “posture” with “structure.” Posture is the ability to hold the structure of your body. Structure (when it comes to your body) is how your body stacks with gravity.

Wait, what? Okay, let us break it down. When the structure is properly balanced, your body is stacked well, which means it’s much natural to have good posture. While there are many other reasons that cause poor posture, in this case, we should clearly look at how the structure of our body directly effects our posture. A person slouches not because he has bad habits, but because their body structure doesn’t make it easy for the person not to slouch.

Do you want to get someone to sit straight? Focus on the structure of your body so when sit down or stand, you’ll notice a drastic improvement with your posture.